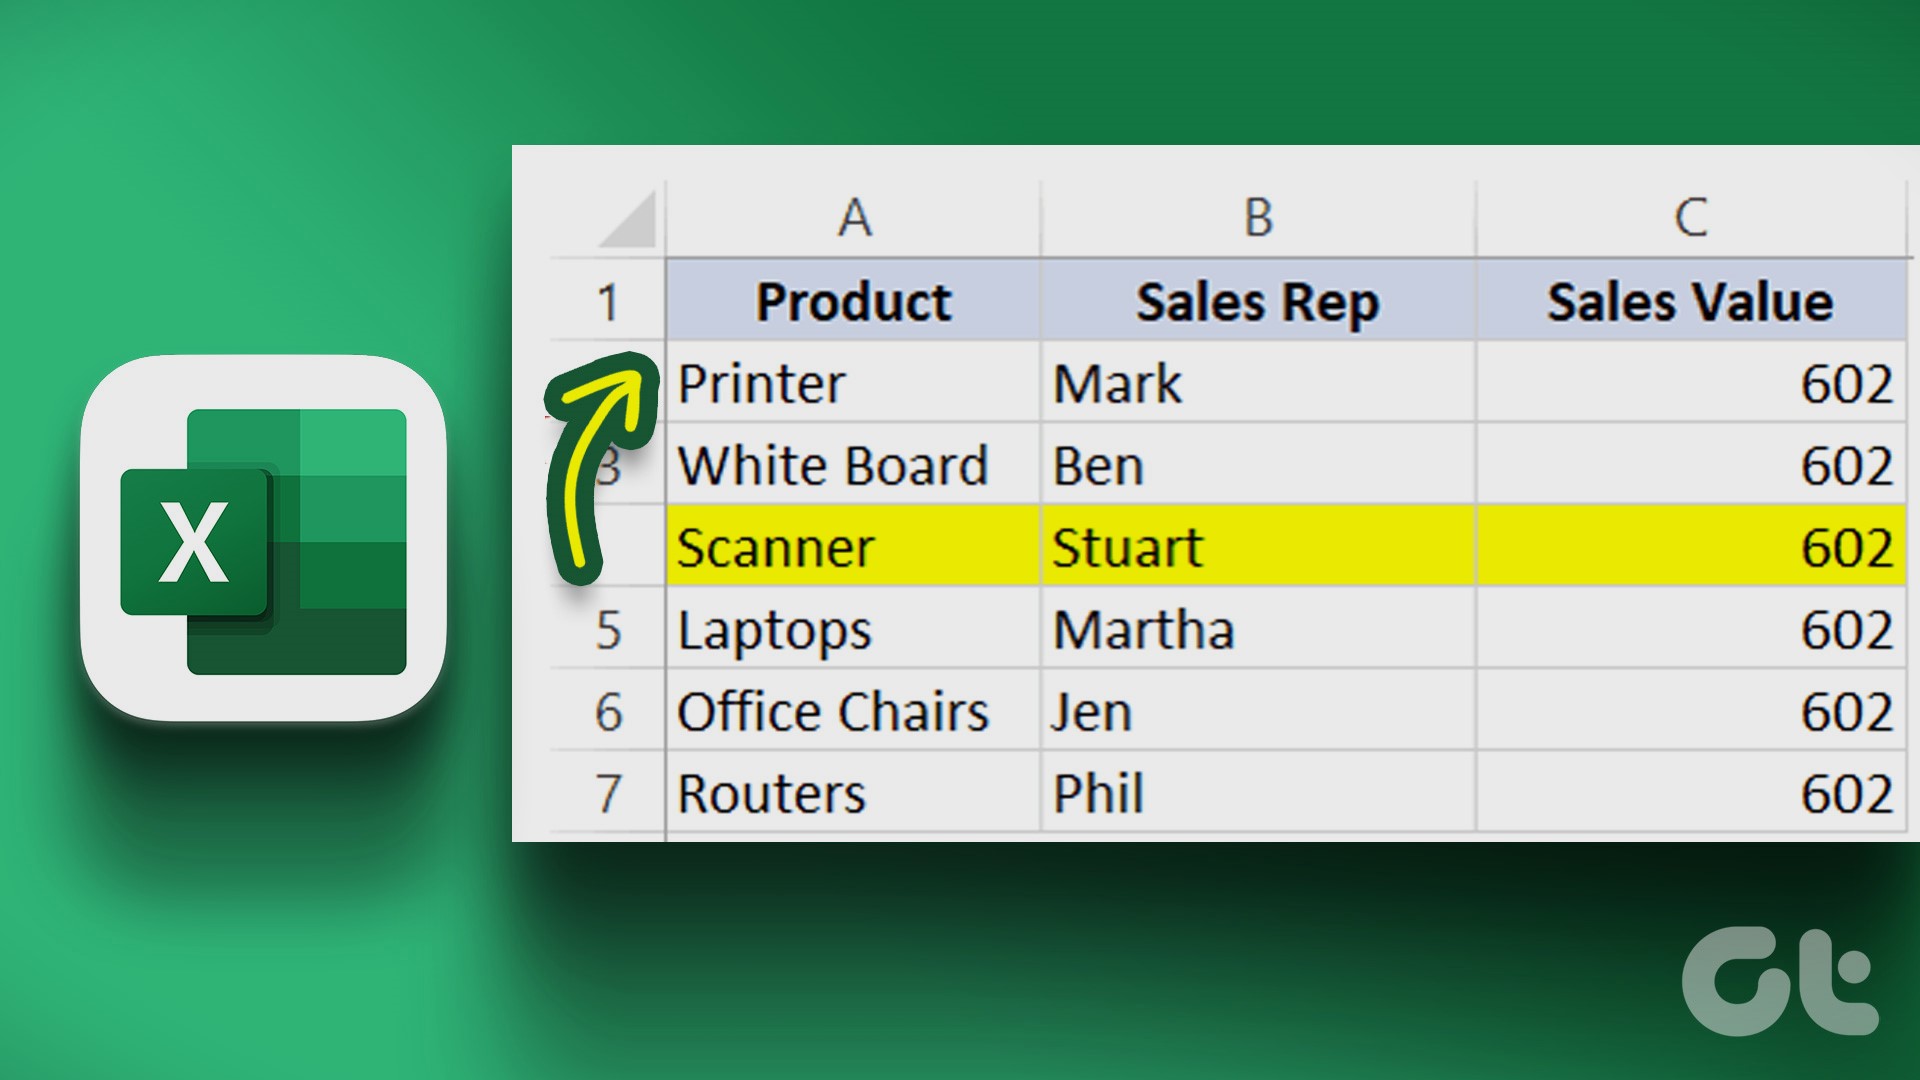
However, rearranging data isn’t as easy when you’ve to move entire rows or cells in a worksheet. This guide will walk you through handy methods to move rows and columns in Microsoft Excel. Stick around till the end if you’re interested in a bonus tip.
1. Move Rows and Columns With Mouse Drag
The easiest way to move a row or column in Excel is with your mouse. However, if you aren’t careful then the data cells may get merged and duplicated. Still, it’s easy. All you have to do is drag and drop the row or column to your preferred location. Here’s how you can go about it. Step 1: Open your Excel spreadsheet and navigate to the column or row you want to move. Step 2: Select your column by clicking the column header. If you want to move a row, click on its row number on the far left.
Step 3: Hold down the Shift key on your keyboard and click and hold the right or left border of the column (or the top or bottom border of the row).
Step 4: Keep holding the Shift key and drag and drop the column or row to its new position. The row or column will be relocated. This method also lets you move multiple adjacent rows or columns at once.
2. Move Rows and Columns With Cut and Paste
Another quick way to move rows or columns in Excel is to cut and paste them from one location to another. Here’s how it works. Step 1: In your Excel spreadsheet, select the column or row you want to move.
Step 2: Right-click on your selection and select Cut.
Step 3: If you’re moving a column, highlight the column to the right of where you want the cut column to go. Right-click on it and select Insert Cut Cells.
Likewise, if you’re moving a row, right-click the row below the desired destination and select Insert Cut Cells.
3. Move Rows and Columns With Data Sort Feature
While the above two methods are fairly simple, they aren’t very efficient when you want to move several rows or columns in a large spreadsheet. Thankfully, the Data Sort feature in Excel makes it easy to rearrange multiple rows and columns at once. Here’s how you can use it.
Rearrange Columns Using the Data Sort Feature
Step 1: Right-click on the first row and select Insert to add a new row above your table.
Step 2: In the new row, number the columns in the order you want them to appear in the spreadsheet. For example, if you want the third column in your spreadsheet to appear first, enter 1 in the cell above it.
Step 3: After numbering your columns, select the entire table. Head over to the Data tab and click the Sort option.
Step 4: In the Sort dialog box, click Options.
Step 5: Under Orientation, select ‘Sort left to right’ and click OK.
Step 6: Click the Sort By menu to select Row 1 and then click OK.
This will sort the columns based on the values in the first row. Following that, you can delete the first row from your sheet.
Rearrange Rows Using the Data Sort Feature
Step 1: Right-click on the first column and select Insert to add a new column.
Step 2: In the new column, enter the sorting order for your rows.
Step 3: Select the entire table, navigate to the Data tab and click the Sort option.
Step 4: In the Sort dialog box, click Options.
Step 5: Under Orientation, select ‘Sort top to bottom’ and click OK.
Step 6: Click the drop-down menu next to Sort By and select 1. Then, click OK.
After arranging rows, you can delete the first column from the spreadsheet.
Bonus: How to Transpose Data From Rows to Columns or Vice Versa in Excel
Have you got a table in your Excel sheet that’s in the wrong direction? You can use Excel’s Transpose feature to easily rotate data from rows to columns or vice versa. Here’s how: Step 1: In an open Excel sheet file, select the entire table. Step 2: Right-click on your selection and select Copy.
Step 3: Select an empty cell where you want to paste the data. Step 4: In the Home tab, select the Paste option. Then, click the Transpose icon and you will have a data table with the columns and rows reversed.
Rearrange Your Excel Data
Working on an Excel spreadsheet can be quite labor-intensive at times. However, if you’re familiar with tools like Data Sort and Transpose, you can boost your spreadsheet productivity and make things a little less tiring. The above article may contain affiliate links which help support Guiding Tech. However, it does not affect our editorial integrity. The content remains unbiased and authentic.


