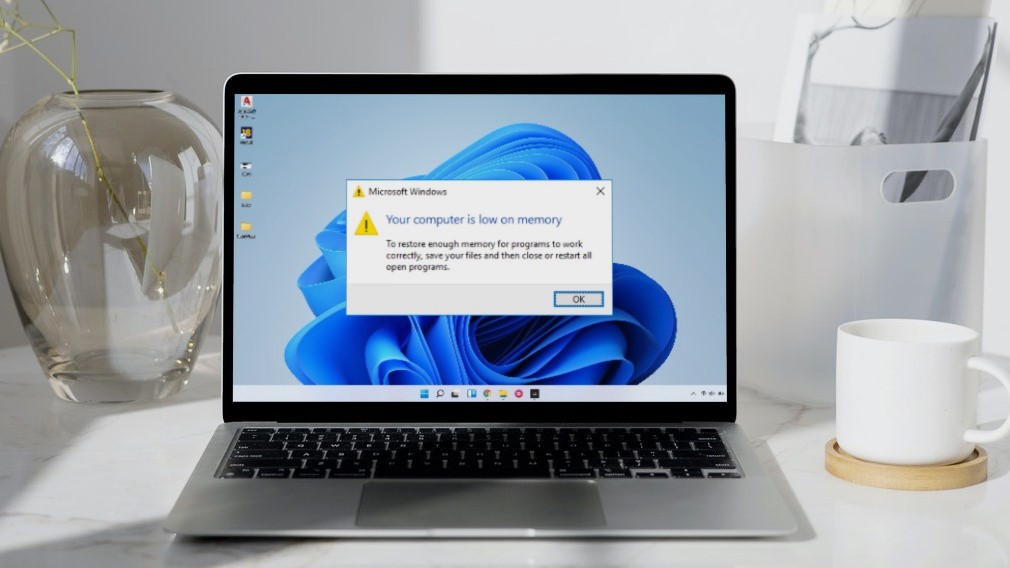
Certain situations warrant you knowing the size of the RAM on your PC. One such situation is when you need to know if your RAM size is large enough to accommodate the running of apps with large memory consumption. When your system slows down, you may also need to figure out your RAM size, and you aren’t sure of the cause. Here are different ways to check your RAM size.
1. Check the RAM Size Using PC Settings
To check your RAM size using the PC settings, take the steps below: Step 1: On your PC, click on the Start menu at the bottom-left of your screen.
Step 2: Click on the Gear icon to launch Windows Settings.
Step 3: Click on System from the options displayed.
Step 4: On the left pane of the System window, scroll to the bottom and click on About from the options listed.
Step 5: Under Device Specifications read through to find information about your RAM size.
2. Checking Your RAM Size Using System Information
Here’s how to check RAM size using System Information: Step 1: Launch the Run dialog box by pressing the Windows + R keys simultaneously on your keyboard. Step 2: Type msinfo32 in the empty field beside Open.
Step 3: Click on OK to launch the System Information window.
Step 4: Click on System Summary on the left pane of the System Information window.
Step 5: Go to the right pane of the System Information window and scroll down to Installed Physical Memory (RAM). You should see the size of the RAM on your PC.
3. Check the RAM Size Using Command Prompt
Command prompt is another way to find out the RAM size of your computer. Most people consider this process a bit difficult since it requires you to enter a specific command. We have made it easy for you by putting together the commands you need for the process below: Step 1: On your PC, click on the Start menu at the bottom-left of your screen.
Step 2: In the search field, input a query for Command Prompt.
Step 3: Click on the Command Prompt result to launch it.
Step 4: Type wmic memorychip get/format:list into the Command Prompt.
Step 5: Press Enter on your keyboard to run the command. Step 6: From the results, look out for the value beside Capacity, which represents your RAM size.
You will always get a numerical value after you enter the commands above. If you are not sure of the meaning of the numerical value, you can always conduct research.
4. Check the RAM Size Using Task Manager
The Task Manager on your computer is one of its most important features. It is a versatile and provides information about your computer’s processes and memory status such as RAM size, usage, and speed. Follow the steps below to check your PC’s RAM size using Task Manager: Step 1: Right-click on the Taskbar of your PC.
Step 2: Click on Task Manager from the listed options.
You can also launch the Task Manager by simultaneously pressing the Ctrl + Alt + Delete keys on your keyboard. Step 3: If your Task Manager launches as a mini window, go to the bottom-left of the window and click on More details to expand it.
Step 4: From the tabs at the top of the Window, click on Performance.
Step 5: Place your cursor on the sidebar and click on Memory to see all the information about your RAM.
Step 6: At the right of the Memory pane, you should see the size of your RAM stated at the top. The upper part of the window shows the RAM size and type, while the lower part shows the RAM usage, speed, size, and memory model form factor, etc.
Recovering Data From PC Storage
That’s it for how to check RAM size on a Windows 11 computer. One thing to note is that the RAM of a PC only stores data temporarily. Therefore, once your PC is shut down, the information is lost. However, for hard drives or memory cards on your PC, you may be able to recover corrupted or lost information. The above article may contain affiliate links which help support Guiding Tech. However, it does not affect our editorial integrity. The content remains unbiased and authentic.


