With that in mind, we have compiled a mix of best methods to open Disk Management on your Windows PC. Also, you can follow the same steps to open Disk Management on Windows 10 and Windows 11.
1. Open Disk Management From the Power User Menu
One of the most straightforward ways to access the Disk Management utility on Windows would be to use the Power User Menu. You can press Windows + X keyboard shortcut to open the Power User Menu. Then, click on the Disk Management option to launch it.
2. Open Disk Management Using the Run Tool
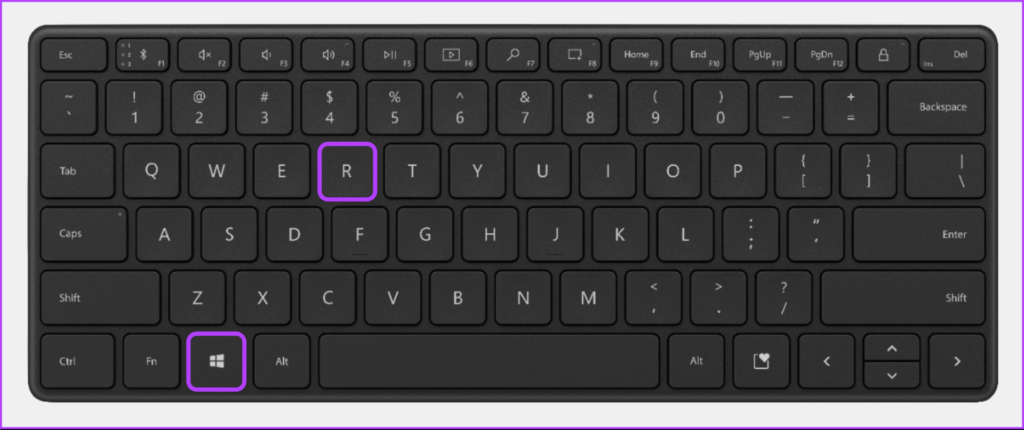
The Run tool in Windows comes in handy whenever you want to quickly access the Registry Editor, the Group Policy Editor, Command Prompt, or any other useful utilities on your system. Here’s how you can use the Run tool to access the Disk Management utility on your PC: Step 1: Press the Windows + R shortcut to open the Run dialog. Step 2: Click on the text field and type diskmgmt.msc. Then click OK to launch the Disk Management Utility.
3. Open Disk Management Using File Explorer
Apart from managing files and folders, you can also use the File Explorer to launch helpful tools such as the Disk Management quickly. Here’s how to use File Explorer to open Disk Management. Step 1: Press the Windows + X keys on your keyboard to open the Power User Menu and click File Explorer. Step 2: In the File Explorer window, click on the Address bar and type diskmgmt.msc. Then press Enter on your keyboard to open Disk Management. If this solution doesn’t work, there might be a problem with it. Refer to our guide on how to fix Disk Management not loading on your PC before moving on to the next method.
4. Open Disk Management Using Task Manager
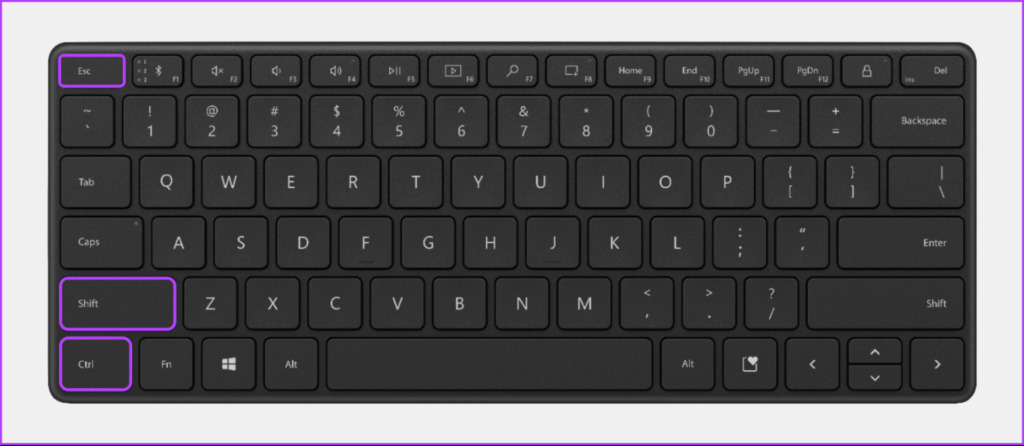
Task Manager also makes it easy to open the Disk Management utility. Just open the Task Manager on your PC and follow the steps below: Step 1: Press the Ctrl + Shift + Esc keys to open the Task Manager. Step 2: Click on the Run new task button in the Task Manager window. Step 3: When a Create new task dialog appears, type diskmgmt.msc in the text field and press Enter on the keyboard.
5. Open Disk Management From Computer Management
It might be difficult to remember the diskmgmt.msc and opening it from different places. As an alternative, you may use the Computer Management utility. It’s bouquet of administrative tools like a Event Viewer, Task Scheduler, Device Manager, Disk Management, etc. to manage a PC locally or remotely. Here’s how you can open Disk Management using the Computer Management utility on your Windows PC: Step 1: Press the Windows + S keys to access Windows Search and type Computer Management. Then from the result that appears, click on Open. Step 2: When a Computer Management window opens, click on the Disk Management option listed under the Storage section in the left sidebar. The Disk Management utility window will open with a list of partitions and removable drives on your computer.
6. Open Disk Management Using Command Prompt or Windows PowerShell
You can also access Disk Management using Command Prompt (CMD) or PowerShell. All you would need to do is execute a simple command as detailed in the steps below: Step 1: Press the Windows + S keys to access Search and type Command Prompt or PowerShell. When either of them show up, click on Run as Administrator to open them with administrative privileges. Step 2: When a User Account Control (UAC) prompt appears, click on Yes. Step 3: In the Command Prompt or PowerShell window that appears, type the following letters and press Enter.
Quickly Open Disk Management on Windows
After reading this post, you can employ any of the solutions listed above to open Disk Management on Windows 11 and use it to manage drive partitions, format drives, change drive letters and more. The quickest way to access it is from the Power User menu. However, using it might be difficult if the Taskbar is not working on Windows 11. The above article may contain affiliate links which help support Guiding Tech. However, it does not affect our editorial integrity. The content remains unbiased and authentic.


