By having a detailed record of your Mac’s activity, you can learn more about your Mac’s usage patterns, optimize its performance, and make more informed decisions about how to use and care for your device. With that out of the way, let’s begin with the article. Note: We are running on macOS Ventura 13.0.1. The methods and steps mentioned in the article may or may not change depending on the macOS version you are running on.
2 Ways to See Your Mac’s Uptime History
There are multiple ways you can get to know about your Mac’s uptime. We will use Mac’s System Infomation and Terminal to find uptime on Mac. The methods and steps mentioned below are straightforward and simple to execute. Let’s begin.
Method 1: Check Uptime on Mac Using System Information
System Information is one of the most common and easiest ways to find your Mac’s uptime. Follow the steps below. Step 1: Hold the Option key on your keyboard and click the Apple icon at the top-left corner of your screen. Note: Alternatively, click on the Apple icon at the top left corner, select ‘About This Mac,’ click on the More Info button, and under About, scroll down and click on System Report.
Step 2: From the drop-down menu, select System Information.
Step 3: In the left pane, click on Software.
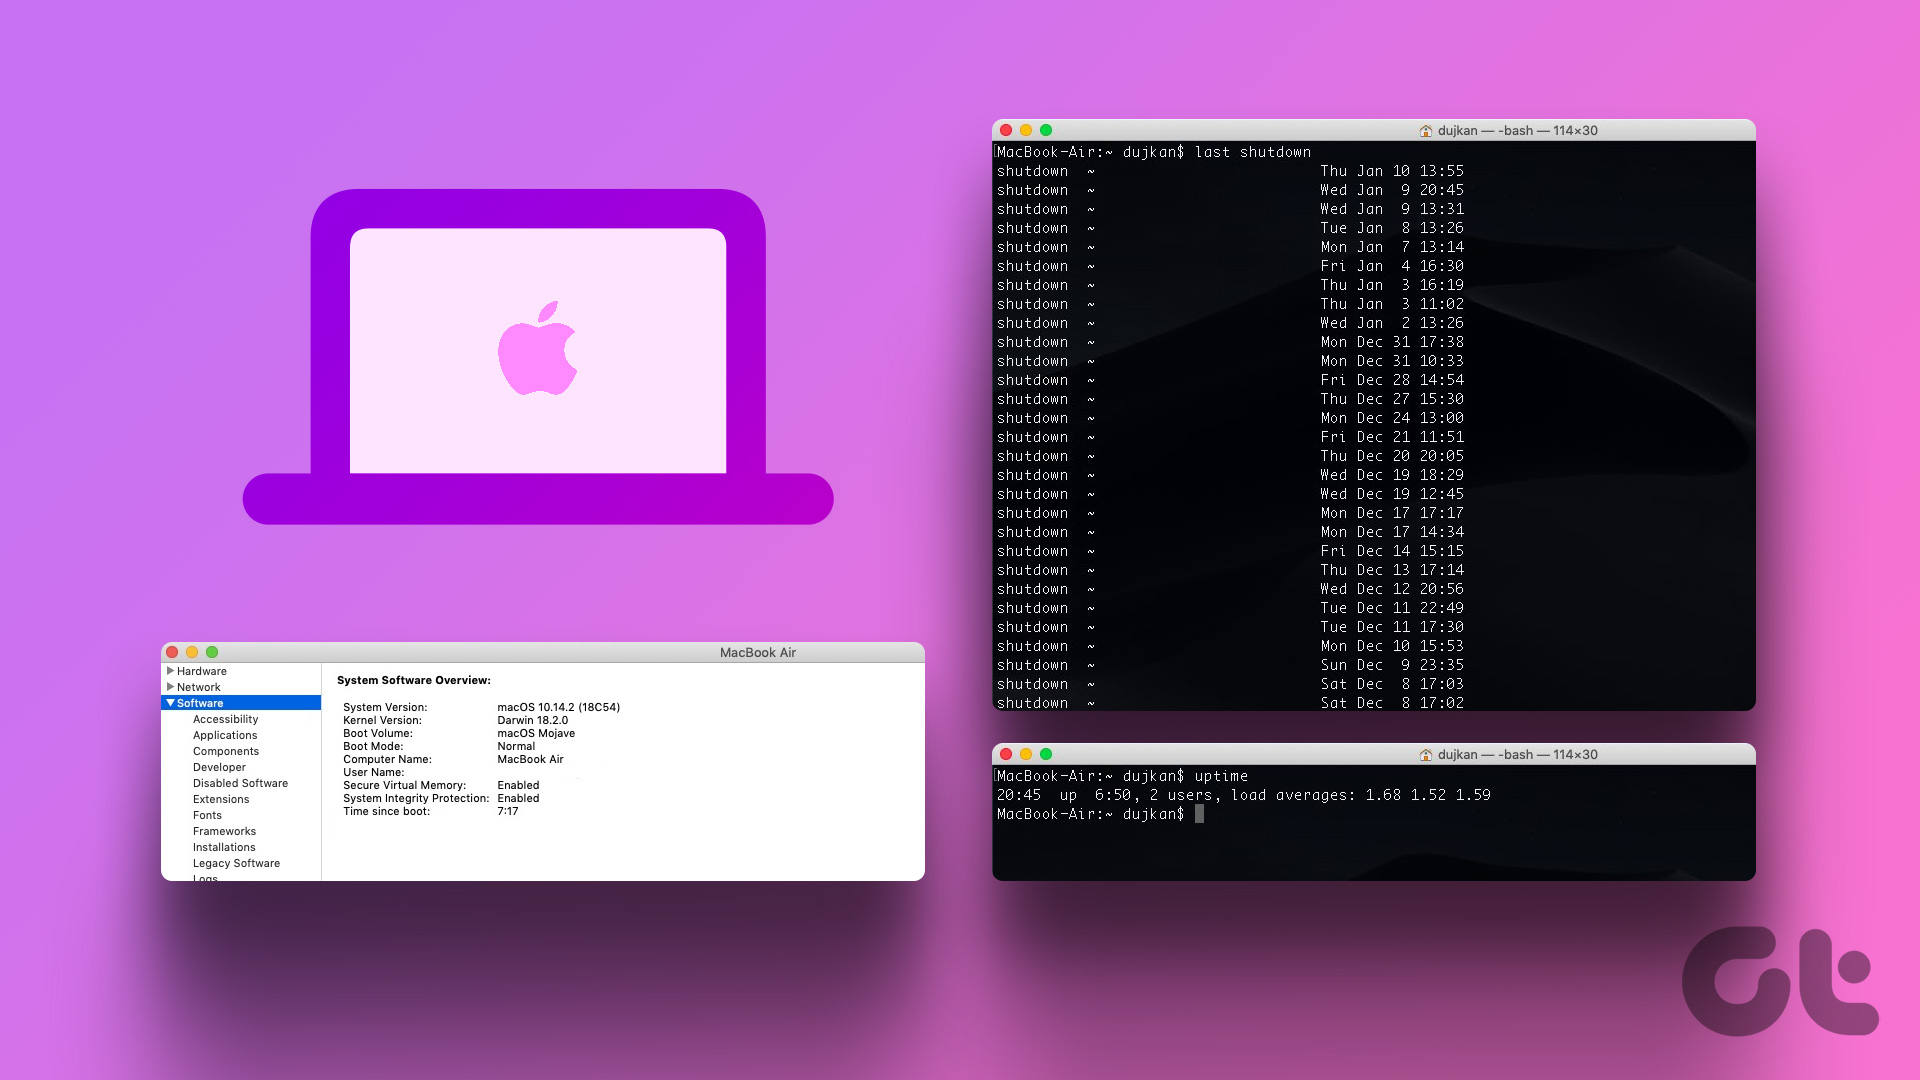
In the right pane, under System software overview, you can see the ‘Time since boot.’
Time since boot dictates the last time your Mac was booted, apparently giving the uptime of your Mac. There’s another way to check Mac’s uptime, which involves using Terminal. Continue reading.
Method 2: How to See Mac’s Uptime Using Terminal
Finding Mac’s uptime using Terminal is relatively simple. The involvement of the Terminal may make the steps look complicated, but it is not. Let’s show you. Step 1: Press the ‘Command + Space bar’ on your keyboard to open Spotlight Search, type Terminal, and press Return. Note: If the step seems confusing, there are different ways to open the Terminal on Mac.
Step 2: Now, type the below command and press Return.
The above command will let you know when your Mac last rebooted, a count of how many days and minutes, the number of users, and finally, load averages. Note: You may wonder about 2 users; it is the norm that Macs follow. Aside from your user account, your Mac also needs a root macOS account to function.
There you go. Pretty easy to follow. Well, if you don’t just want to settle with uptime, you can also view your Mac’s reboot history. Keep reading.
How to Check Mac’s Reboot History Using Terminal
Knowing your Mac’s reboot history helps you troubleshoot, monitor performance, and more. This method will involve using the Terminal app. In case you are wondering, yes, there are many things you can do using Terminal. The steps are easy to follow and understand. Step 1: Press the ‘Command + Space bar’ on your keyboard to open Spotlight Search, type Terminal, and press Return.
Step 2: Type the below command and press Return.
That’s it. The above command will let you see all the reboots with the date and time. Now that you know your Mac’s reboot, you may also want to know your Mac’s shutdown history. Continue reading.
How to See Shutdown History on Mac Using Terminal
The steps are easy to follow. If you have followed the above method, this method is just its extended version. Follow the steps below. Step 1: Press the ‘Command + Space bar’ on your keyboard to open Spotlight Search, type Terminal, and press Return.
Step 2: Type the below command and press Return.
Know Your Mac Better
Now that you know your Mac’s uptime, reboot, and shutdown history, it will be easy to identify usage patterns and keep a track of your Mac’s activity. And speaking of usage patterns, you may also want to check how to use screen time on Mac to optimize your productivity. The above article may contain affiliate links which help support Guiding Tech. However, it does not affect our editorial integrity. The content remains unbiased and authentic.


![]()