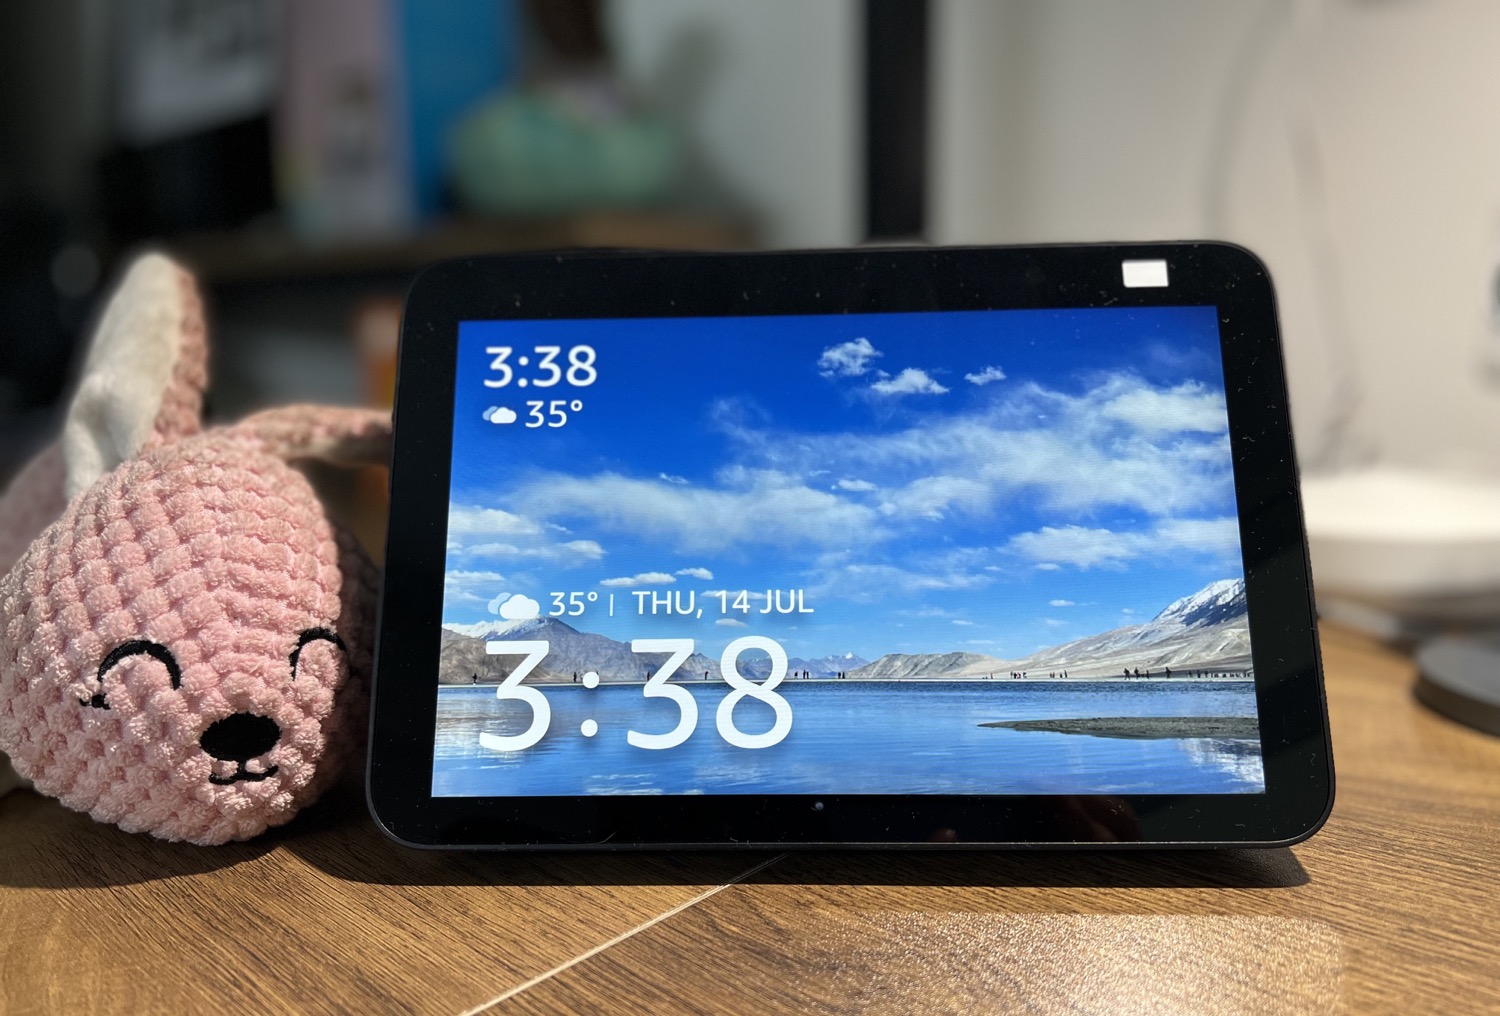
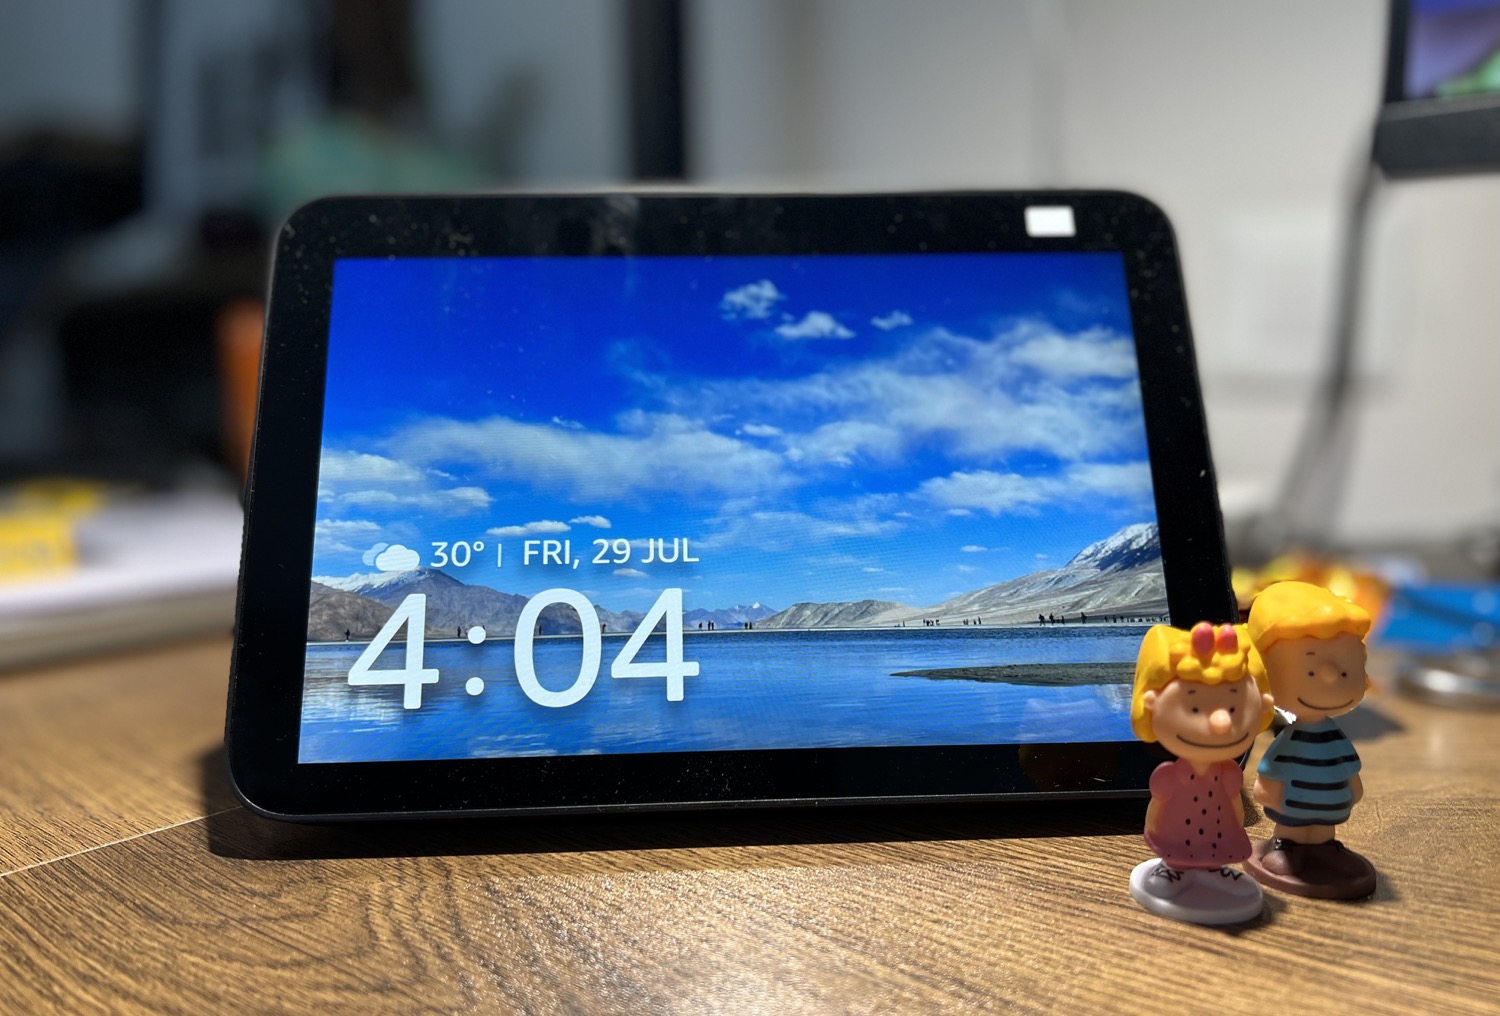
The good thing is that you can either create a slideshow of your favorite memories. Or, you can upload a static image from your phone. The only catch is that for the slideshow, you will have to take the aid of Facebook. And as mentioned above, the process is no rocket science. Now that it’s settled, here’s how you can display your pictures on Echo Show 8 2nd Generation (we’ll call it the Echo Show 8 in this post). Let’s get going, shall we? But first, check out these Alexa-related posts,
How to Display Pictures on Echo Show 8
Step 1: Open the Alexa app on your phone and tap on Devices at the bottom ribbon. Next, select Echo & Alexa option at the top.
After that, select Echo Show 8 from the list. Step 2: Tap on the Settings icon at the top-right corner. Then, select Photo Display from the menu.
Step 3: Next, select a photo from your phone’s gallery. Interestingly, the app allows you to zoom in on the photo. So, also, you can remove any unwanted element from the chosen image.
After the image crop is in place, hit the Upload button. It will take just a few seconds for the image to be the new background on your Echo Show 8.
Step 4: Wake up your Echo Show 8 and slide down from the top of the screen to access the Quick Settings menu. Tap on Settings.
Tap on Clock & Photo Display and scroll down until you see the option for Auto Sleep. Next, disable Auto Sleep to off.
It is not a mandatory step. However, if you want the screen to stay active at all times, you should disable it. At the same time, you can also explore the Photo Frame Preferences option and select the Crop option as per the photo.
How to Display a Photo Slideshow on Echo Show 8 2nd Generation
To display a photo slideshow on Echo Show 8, you will need the aid of Facebook. The idea is to link your Echo Show to Facebook to display a pre-made photo album as a slideshow. Though the process requires a few additional steps, it’s not complicated. Step 1: Open the Alexa app on your phone, and tap on the More option at the bottom ribbon. Click on Settings and scroll down on the list until you see Photos.
Step 2: Tap on Link Account to access the Show my Facebook Photos skill.
Tap on Launch to start using the skill. If this is your first time linking your Facebook account, you’ll need to add your Facebook Username and Password. Plus, you will have to provide the relevant permissions. Step 3: After linking your Facebook account, select the device. In our case, it’s the Echo Show 8.
Step 4: On your Echo Show 8, go to Settings and select Clock & Photo Display, and then select Facebook.
Your Echo device will show you all your public albums. All you need to do is select the ones you want to display.
If everything goes fine, you should see the album photos in no time on your Alexa device. If not, a simple restart should solve the issue. Like static photos, you’ll need to disable Auto Sleep to get the most out of this feature. Also, you can adjust the slideshow speed. For that, visit the Clock & Photo Display, and scroll down until you see Advanced Settings. Here, tap on Speed and select the one that suits the slideshow.
By default, it is set to Medium (12 seconds).
Facebook Album Selections
One of the limitations of the above process is that your Echo Show 8 will display all photos of the selected albums. The clever thing to do in such situations is to create an album on Facebook solely to display your pictures on Echo Show 8 2nd Generation. To do so, follow the steps below, Step 1: Open Facebook in a web browser on your computer and hit the Albums tab under Photos. Tap on Create New Album and add the photos to it.
Set the Privacy of the photos to Friends or Public, as it suits you.
Step 2: On your Echo Show, head over to the Clock & Photo Display > Facebook, and tap on the Change option.
Now, choose the album you just created, and that’s about it! Simple, see.
Pretty as a Picture!
So this was show you can display your pictures on the Echo Show 8 2nd Generation. What I like the most about the processes above is that you can have your own set of wallpapers (if not your personal photos). For example, I uploaded a bunch of pretty wallpapers from Unsplash and created an album on Facebook. Next, I selected that album on my Echo Show. Unfortunately, there’s no way to turn off the comments sectdion on select Facebook Albums as yet. The above article may contain affiliate links which help support Guiding Tech. However, it does not affect our editorial integrity. The content remains unbiased and authentic.


