The iPhone’s macro mode is designed in such a way that it automatically switches to it as soon as you get an object close to the camera. But in many instances, you may not want it to switch since the ultra-wide camera as it degrades the image quality. If you too are annoyed by the constant toggling of lenses, read on to learn how to stop the iPhone camera from switching automatically to macro mode.
Why Does the iPhone Automatically Switch to the Macro Mode
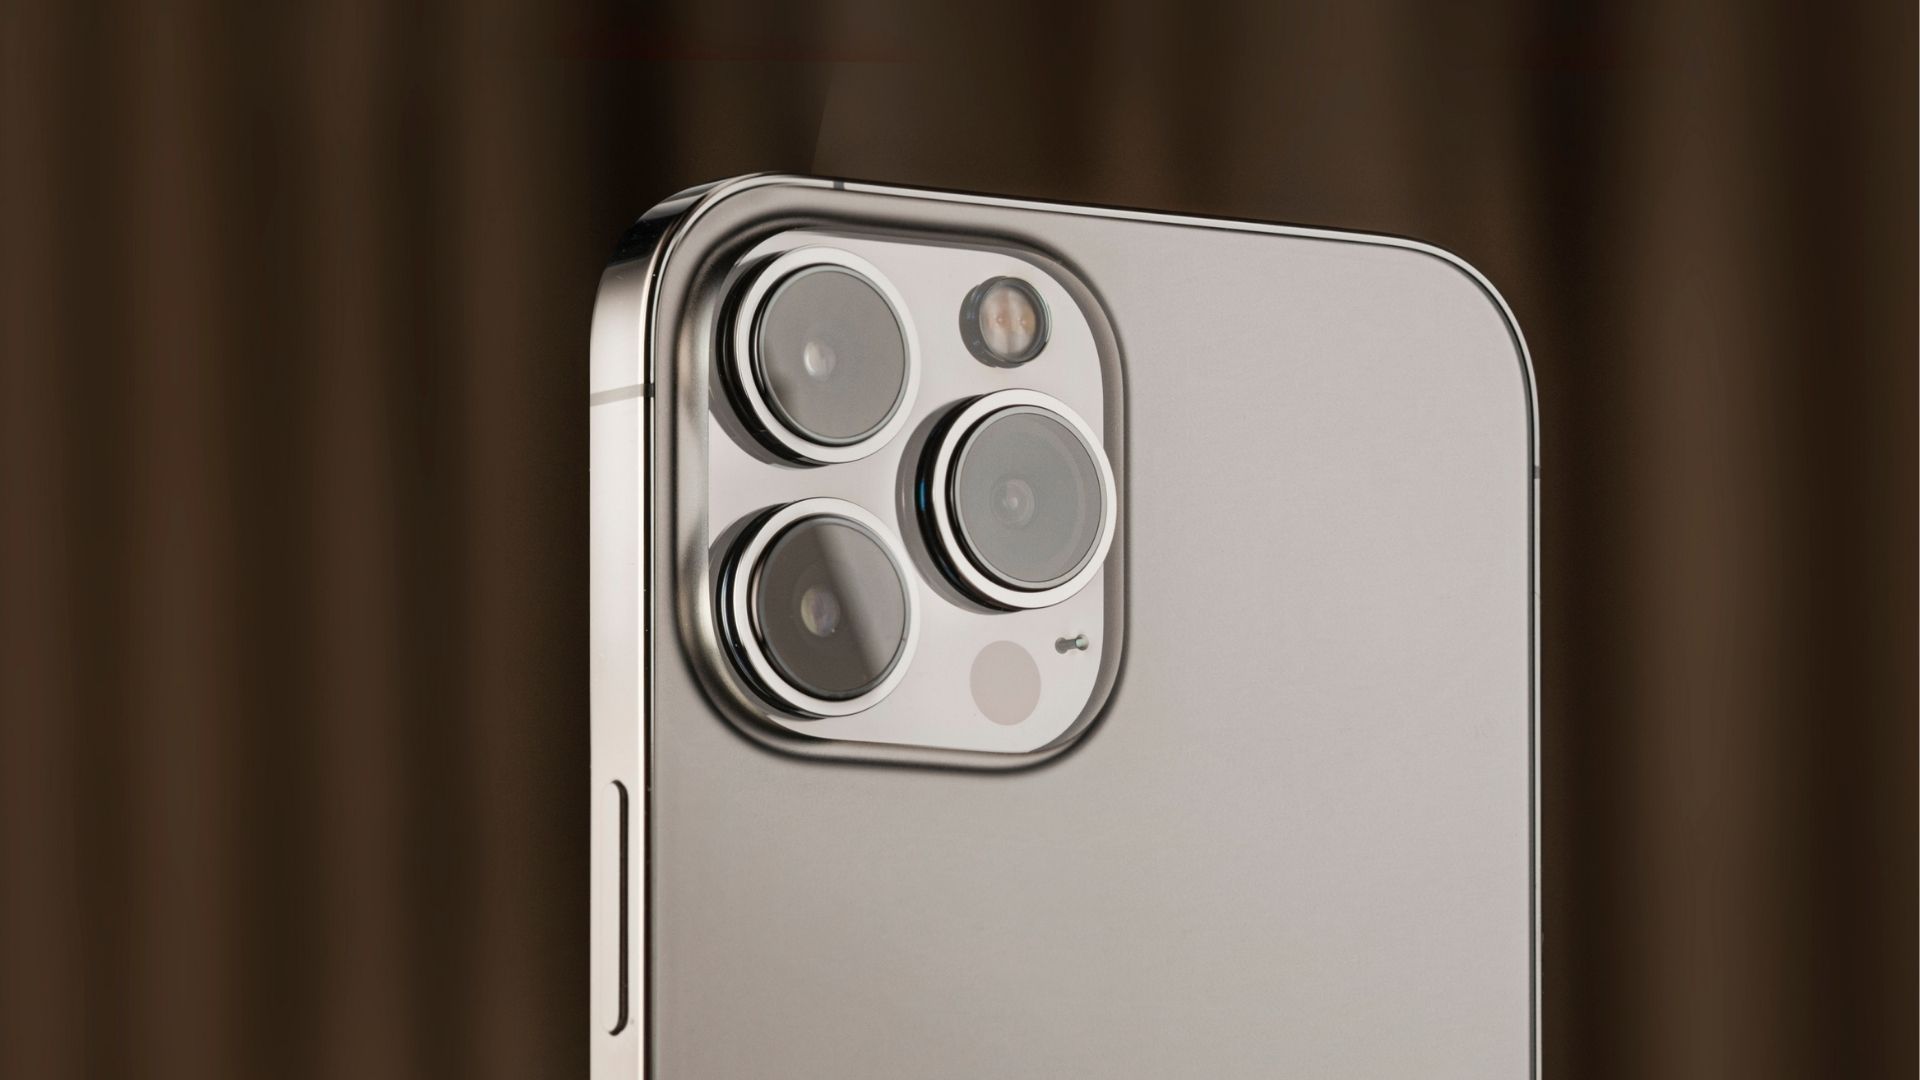
Every camera has a minimum focus distance. This is the least distance from the camera at which the camera can lock focus onto a subject. With the iPhone 13 Pro, and even more with the iPhone 14 Pro, the sensor sizes have become larger due to which there’s camera fringing. In simple terms, the minimum focus distance is higher than older iPhones with smaller sensors. As a result, if you bring a subject too close to the camera, it will appear blurry. To prevent this, the iPhone switches to the ultra-wide camera since the minimum focus distance on that lens is much smaller. However, the images clicked by this camera are softer and lack details. This is more emphasized in low-light situations. So, you may not want your iPhone camera to switch automatically to the macro lens in many situations. You can simply move farther away from your subject and get a crisp shot from the main lens.
iPhones Compatible With Macro Mode
Not all iPhone versions have macro capabilities. Here are all the iPhone devices that support macro mode:
iPhone 14 Pro/iPhone 14 Pro Max iPhone 13 Pro/iPhone 13 Pro Max
Your iPhone also needs to be running iOS 15.1 or higher to disable macro mode from turning on automatically.
How to Prevent iPhone From Switching to the Macro Camera
Apple has provided an option called Macro Control within the iPhone Camera app settings. We will use this toggle in combination with the settings retention option to turn off auto macro on iPhone. Here’s how to do it. Step 1: Open the Settings app on your iPhone (since it’s 2023 and Apple still doesn’t give you camera settings in the camera app). Navigate to the Camera section. Step 2: Scroll down all the way to the bottom and enable the toggle for Macro Control. Step 3: Next, scroll back up and select the Preserve Settings option. Step 4: Turn on the toggle next to Macro Control. Now, whatever option you have chosen for the Macro switching will apply every time you open the camera app. Step 5: Open the Camera app on your iPhone. Step 6: Bring a subject close to the camera. Your iPhone should switch automatically to the macro mode. However, you should see a yellow button in the bottom-left corner of the app. Tap on it and the macro mode will be disabled. You can now click pictures of close-up objects without worrying about the iPhone camera switching to the macro lens. Even if you exit the Camera app and reopen it, the setting will be preserved. Congratulations, you’ve finally disabled the auto macro mode on your iPhone by following six steps that should have actually been just two.
How to Manually Switch to the Macro Lens
When you want to manually click a macro photo, you can tap on the macro button to switch to the mode and then tap on it once again after you’re done to disable it. This way, the Macro mode will get enabled only when you want it.
Click Crisper Photos
The macro mode is surely handy in some situations. However, it comes at the cost of reduced image quality. So before you click a close-up object, make sure you stop the iPhone from switching to the macro camera automatically to get a crisp and clear output. The above article may contain affiliate links which help support Guiding Tech. However, it does not affect our editorial integrity. The content remains unbiased and authentic.


