There are two ways in which you can update your Kindle reader. You can use the built-in option to do so or update it manually. We’ll show you both of them in detail. But first, let us have a brief understanding of why you should update it.
Why Should You Update Your Kindle Reader
All my Kindle does is just help me read a book… why would it need software updates? You might have thought about this question once you started reading this article. Yes, all your Kindle does is help you read a book – it’s the one thing it does and it does it best. However, this would not be possible without reliable software that is at the heart of your Kindle reader. Now that we know why software updates are important, let’s understand the prerequisites before understanding the process.
What You Need to Know Before You Update Your Kindle
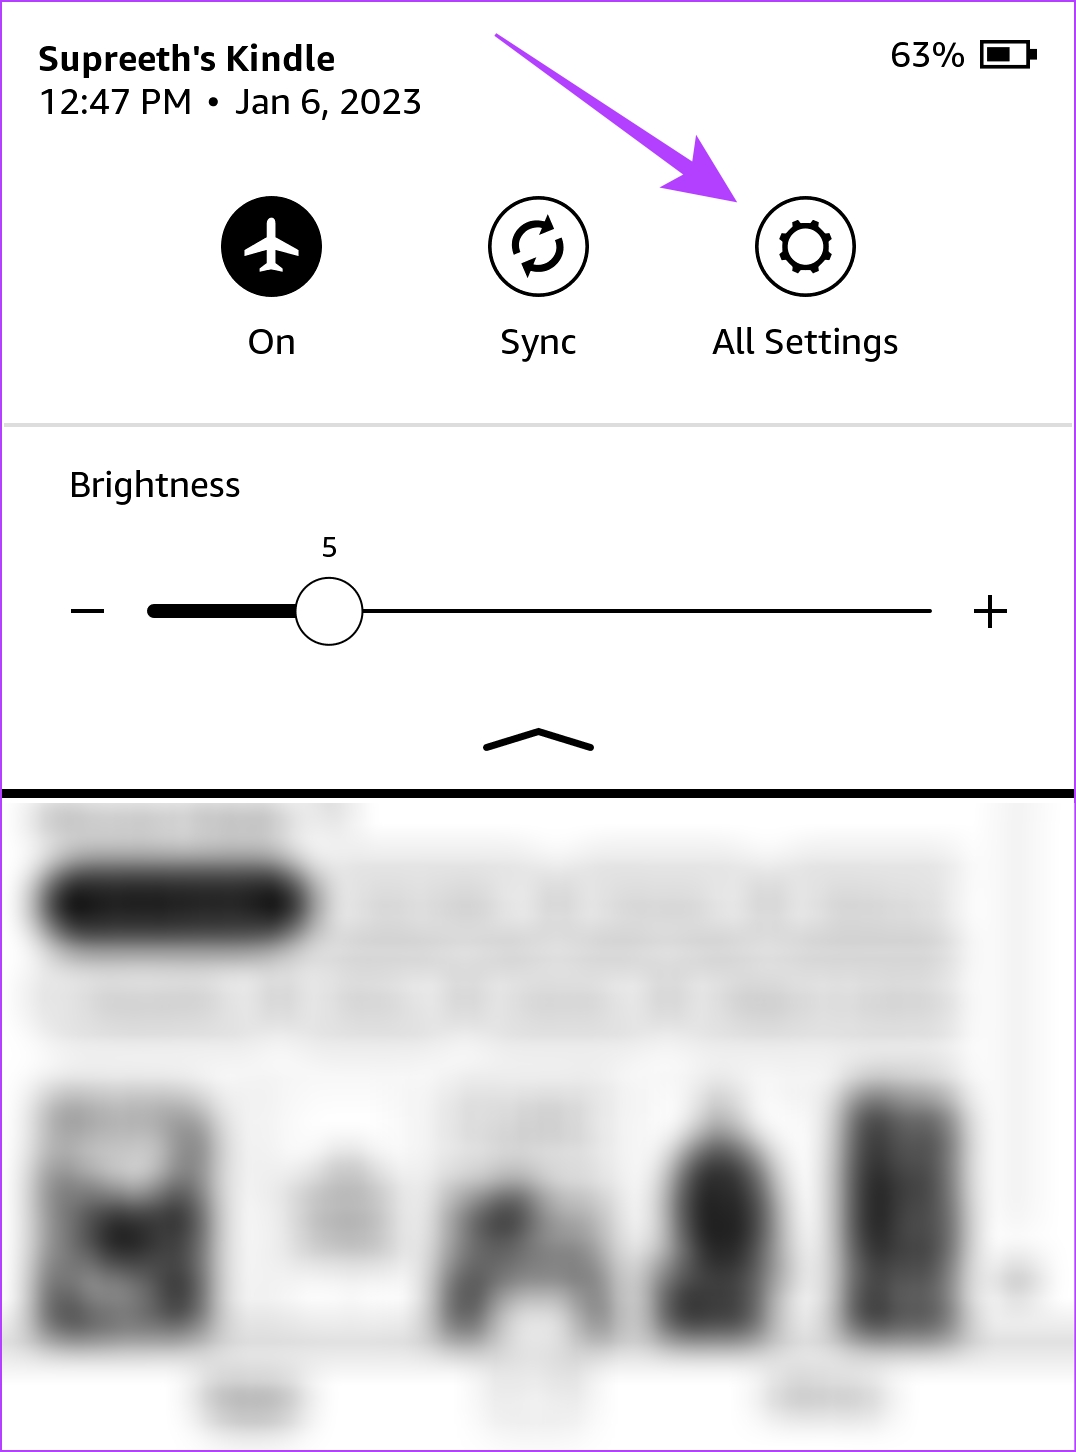
Your Kindle reader version and the software version information will come in handy before you update your Kindle. So, here’s how to check the same. Step 1: Tap anywhere on the screen and select the downward-facing arrow on the topmost section of the screen. Step 2: Tap on all Settings. Step 3: Tap on the three dots icon and select Device Info. Let’s now begin with the procedure to update the e-reader.
How to Update Kindle Reader Software
As mentioned earlier, there are two ways to update the firmware on your Kindle reader. Let’s see how we can do that using the Settings menu.
Method 1: Update Via Settings
Step 1: Tap anywhere on the screen and select the downward-facing arrow on the topmost section of the screen. Step 2: Tap on all Settings. Step 3: Tap on Device Options. Step 4: Tap on ‘Update Your Kindle’. This will update the device to the latest firmware version. If you do not have Wi-Fi access on your Kindle or if you are unable to update it using the above method, move on to the next method.
Method 2: Update the Software Manually
Kindle E-Reader Software Update Website Step 2: Next to your Kindle Reader version, tap on ‘Download Software Update’. Note: You can check your Kindle device information as shown in the previous section. Step 3: Once the update file is downloaded, copy the file. Step 4: Connect the Kindle to your PC/Mac with a USB cable and paste the copied update file onto the Kindle drive. You don’t need to add it to any specific folder, you can just copy it to the drive. Now, go back to your Kindle reader. Step 5: Tap anywhere on the screen and select the downward-facing arrow on the topmost section of the screen. Step 6: Tap on all Settings. Step 7: Tap on Device Options. Step 8: Tap on ‘Update Your Kindle’. However, if you notice that the ‘Update Your Kindle’ option is greyed out, move on to the next section.
Update Your Kindle Greyed Out: What Does It Mean
If the Update option is greyed out, it may mean any of the following:
You are already on the latest version of the software. The device doesn’t have an active internet connection, which is necessary to update it. Your Kindle might be in flight mode. Turn it off and connect to Wi-Fi.
Update Your Kindle With Ease
The above article may contain affiliate links which help support Guiding Tech. However, it does not affect our editorial integrity. The content remains unbiased and authentic.


