Adding a star to an email is the easiest way to organize necessary emails on the desktop and mobile. Apart from adding a yellow star, you can tag an email as blue-star, green-check, purple question, and even customize the default options. Let’s check it in action.
Add Star to an Email
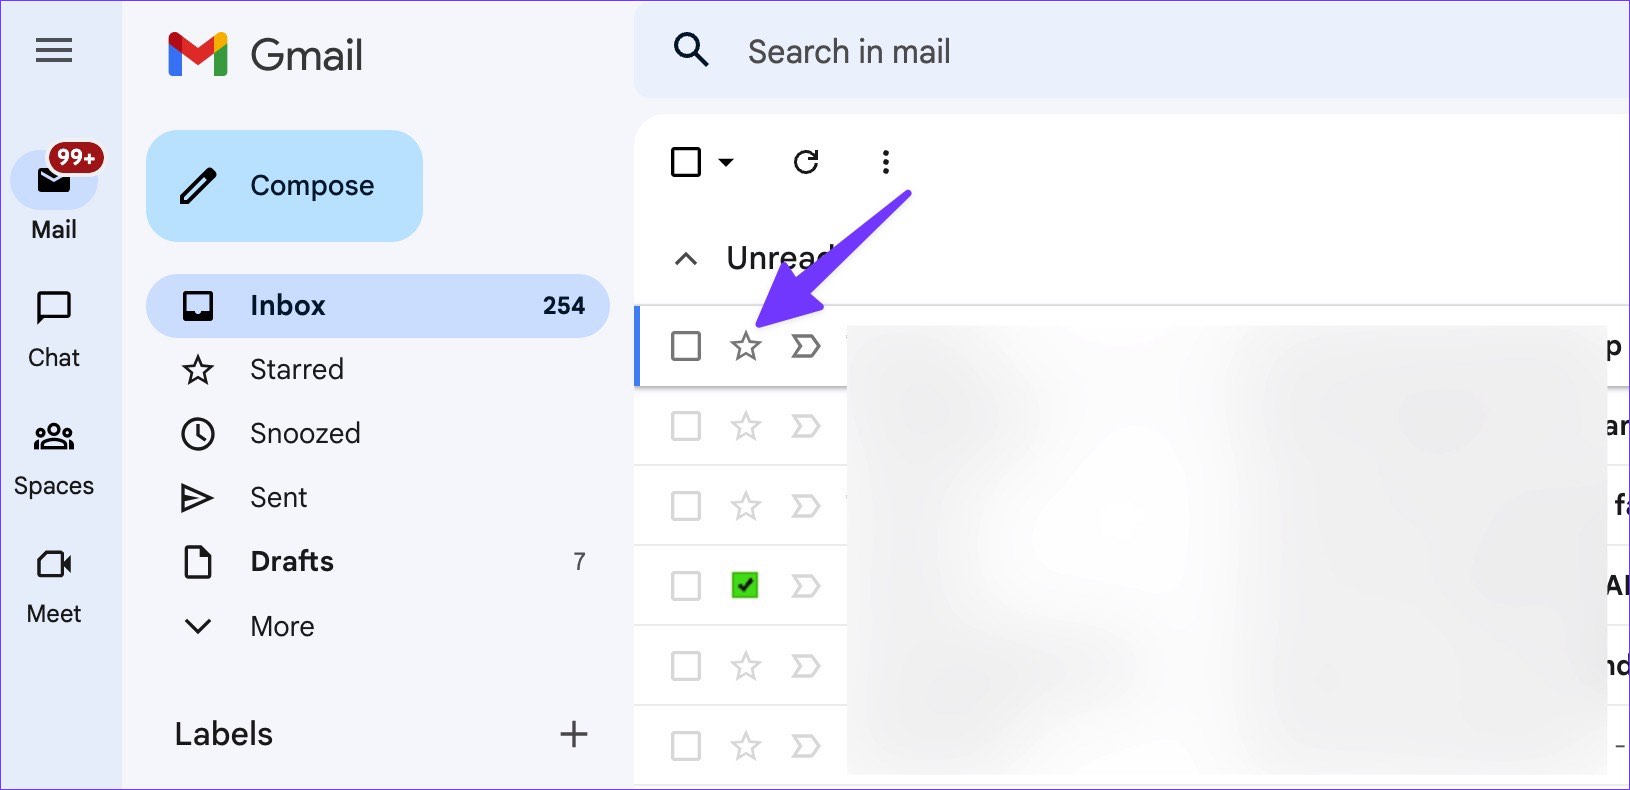
You can hit the star icon beside an email and check the same from a dedicated ‘Starred’ menu in the Gmail sidebar. Follow the steps below. Step 1: Visit Gmail in a web browser and log in with your account details. Visit Gmail on Web Step 2: Select the star icon beside an email.
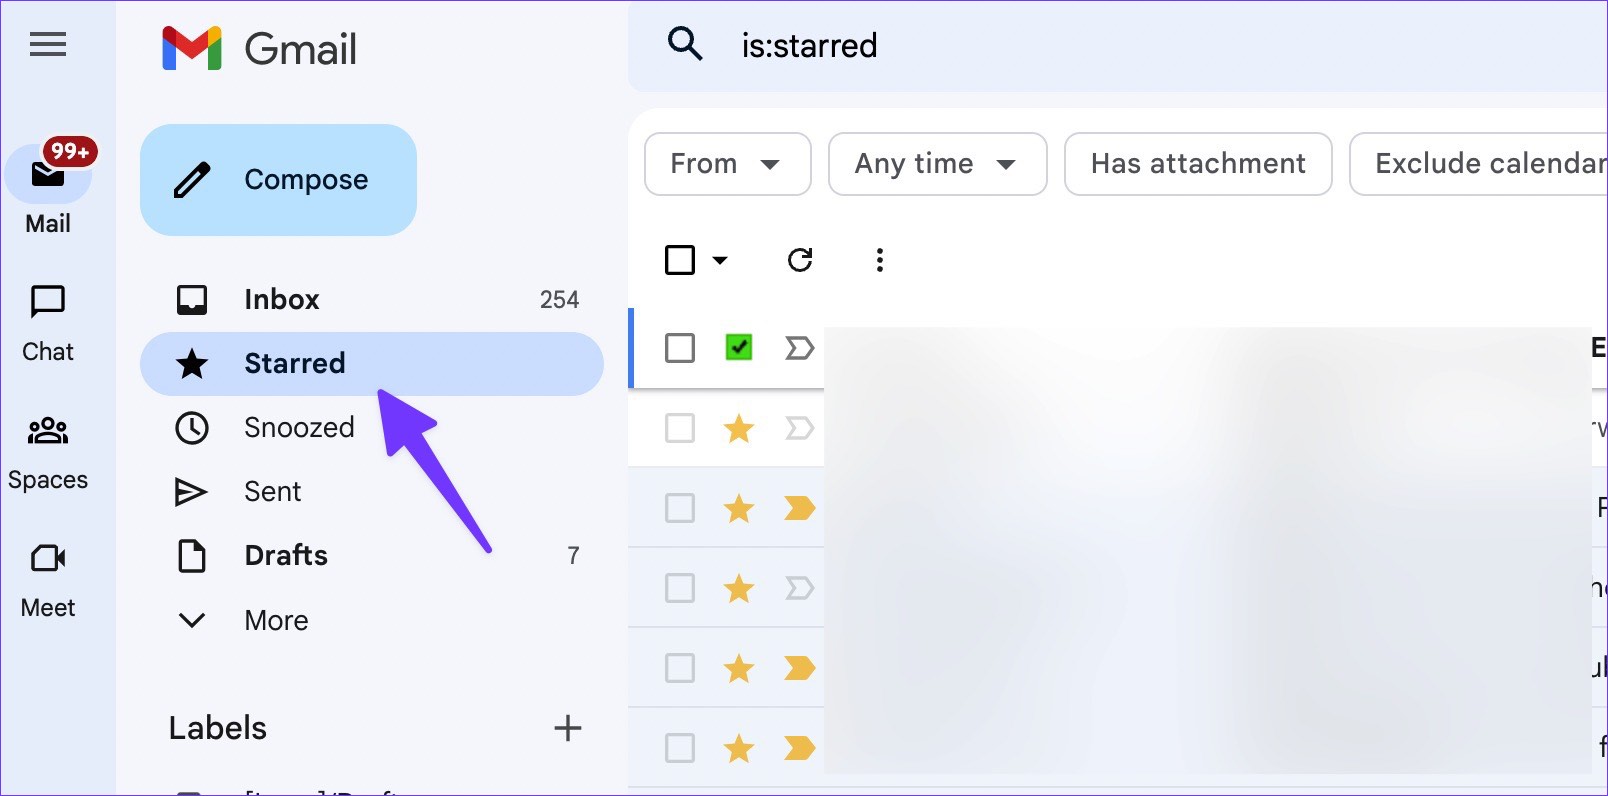
Step 3: Click on the ‘Starred’ inbox from the Gmail sidebar and check your important emails in a single place.
Use Gmail Mobile Apps
Gmail allows you to star an email using mobile apps too. Gmail for iPhone and Android offer an identical user interface for you to easily manage your emails from the phones. Here’s how you can do that. Step 1: Open Gmail on iPhone or Android. Get Gmail for iPhone Get Gmail for Android Step 2: Tap the star icon beside an email. Step 3: To check your favorite emails, tap the hamburger menu in the top-left corner and tap Starred.
Use Different Star Styles
The Starred inbox in Gmail can get crowded over time. Apart from the standard yellow star, you can select different color options, purple-question, red-bang, green-check, and more. Let’s check them. Step 1: Visit Gmail website in a browser on your computer and log in with your Google account details. Visit Gmail on Web Step 2: Click on the star icon successively and move between star types in use.
Step 3: When you visit Starred inbox from the sidebar, you can check different star types in action. It’s easy to separate them from the standard starred email. Unfortunately, there is no way to use different star types on Gmail mobile apps.
Customize Star Styles on Gmail
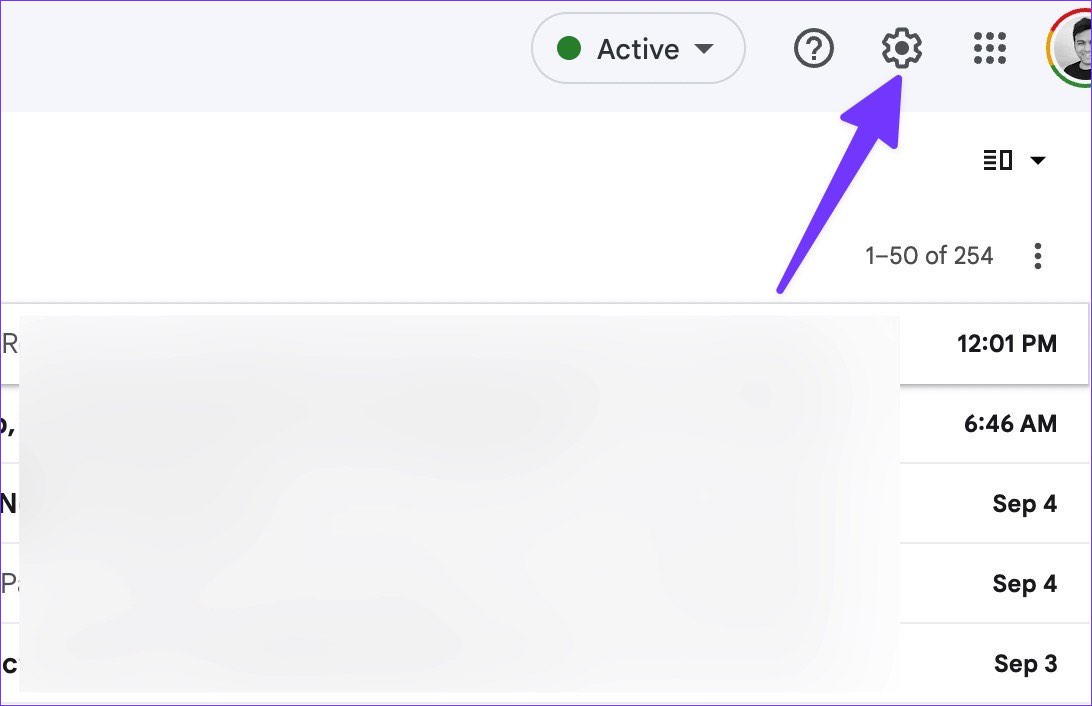
By default, Gmail offers four star styles to choose from. If the default options aren’t sufficient for you, head to Gmail settings to add more styles. Follow the steps below to make changes. Step 1: Head to Gmail in a web browser, login with your account details, and select the Settings gear in the top-right corner.
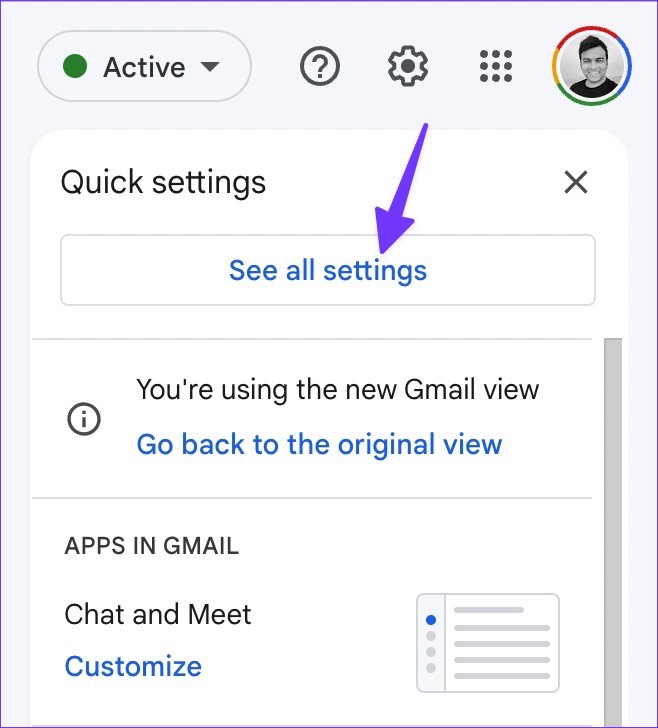
Step 2: Click the ‘See all settings’ button.
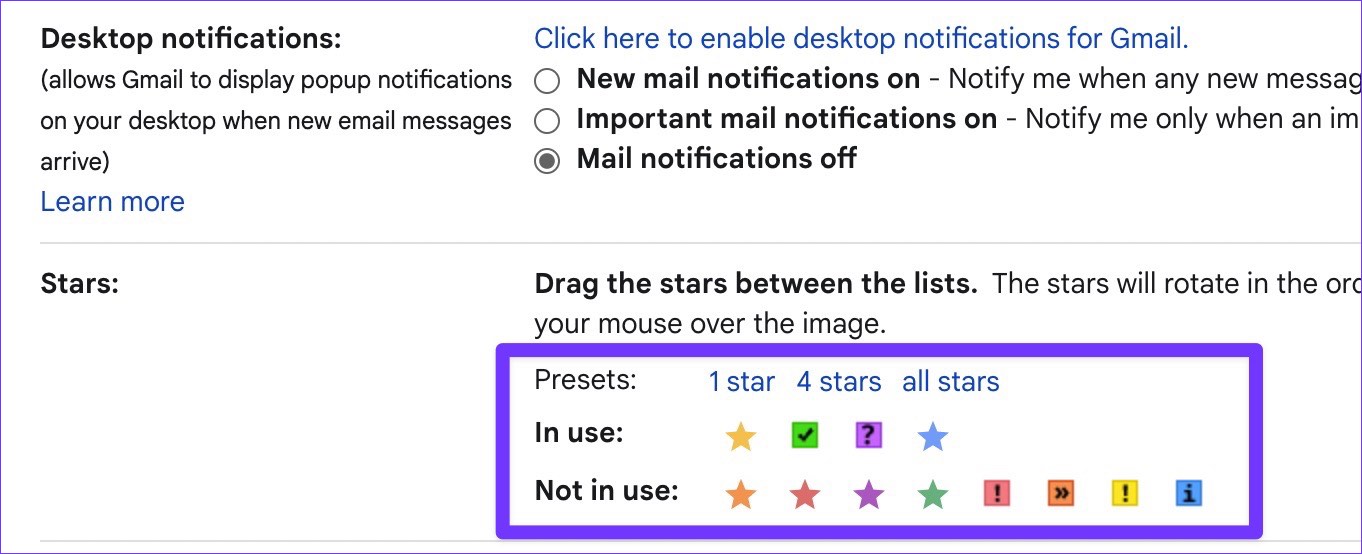
Step 3: From the General section, scroll to ‘Stars.’ Step 4: You’ll find the stars that are in use and not in use from the menu.
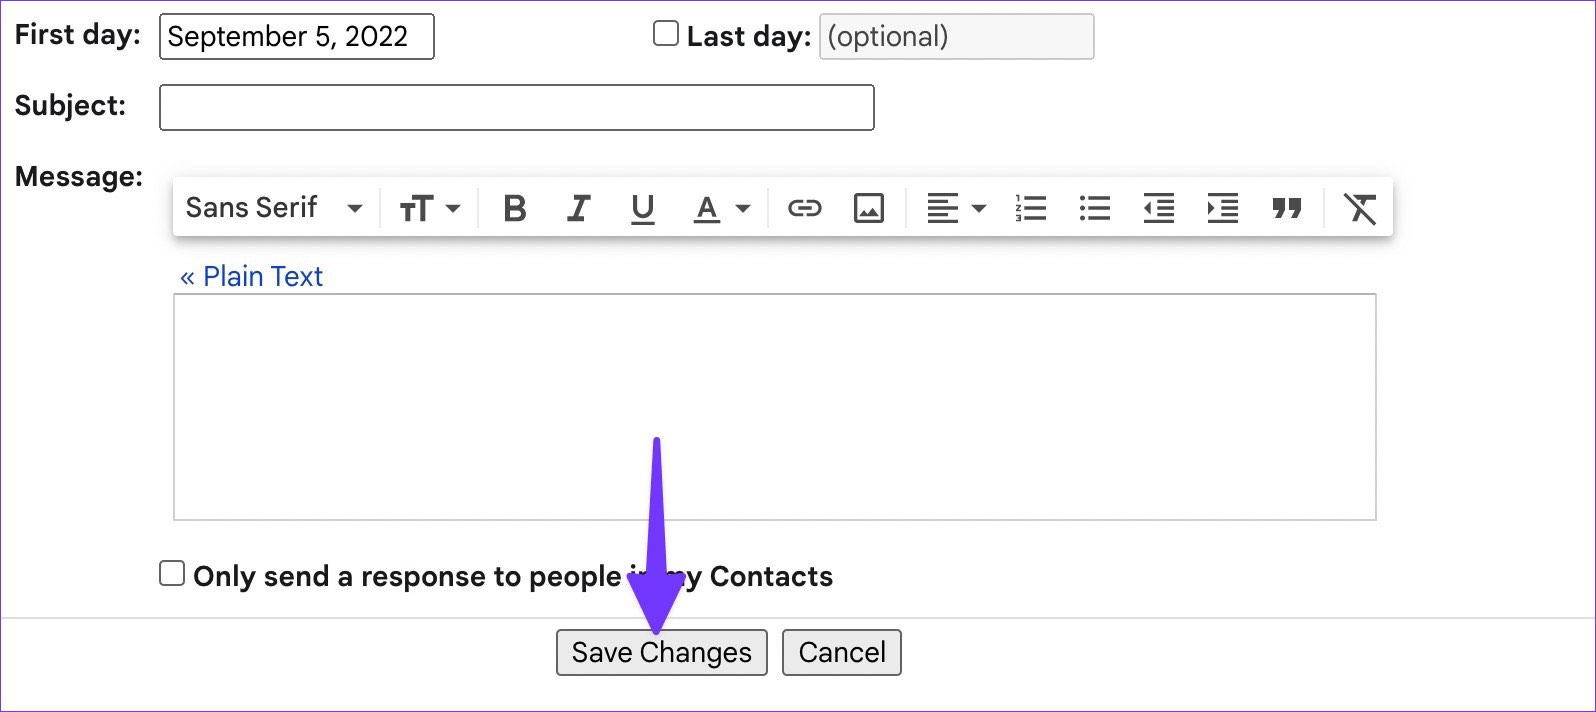
Step 5: Drag the stars between the lists. The stars will rotate in the order shown below when you click successively. To learn the name of a star for search, hover your mouse over the image. You can also choose stars from default Presets. Scroll down and hit the ‘Save Changes’ button.
Click on the star icon successively and scroll through set styles. You can check different star styles on the Gmail desktop only. The same will appear as a standard star icon on Gmail mobile apps.
Automatically Add a Star to a Gmail Inbox
You can automatically add a star to a Gmail inbox using filters. You no longer need to add stars to specific emails manually. Here’s how you can do it. Step 1: Visit Gmail on the web and select the ‘Show search option’ at the top.
Step 2: Enter the email address, subject, words, etc., to filter existing or upcoming emails. Step 3: Select the ‘Create Filter’ button.
Step 4: Enable the checkmark beside ‘Star it’ and hit the ‘Create Filter’ button.
After creating this filter, whenever you receive an email that meets all the conditions, Gmail will automatically add a star and send it to the Starred inbox. You can create as many filters as you prefer and completely automate your Gmail inbox using stars. There are two limitations, though. You can’t create Gmail filters on mobile. The service won’t allow you to assign other star styles like blue-star, purple-question, green-star, and more.
Arrange Your Emails Like a Pro
You can always use the Gmail search menu to find relevant emails. Stars take the entire email organization to the next level. How are you planning to use stars in Gmail? Share your preference in the comments below. The above article may contain affiliate links which help support Guiding Tech. However, it does not affect our editorial integrity. The content remains unbiased and authentic.