Fortunately, like most Windows issues, it’s a cakewalk to troubleshoot this error. Here are five quick ways to fix the ‘The directory is not empty’ error 0x80070091 in Windows 11.
1. Restart File Explorer
Whenever you face the error 0x80070091, it may be due to a temporary glitch. To remedy that, you may restart the File Explorer. Restarting the File Explorer can help get rid of most of such bugs and glitches. Here’s how to do that: Step 1: Press the Windows + X keyboard shortcut to open the Power User menu and choose Task Manager from the list. Step 2: Right-click on Windows Explorer and choose Restart. After that, check if you still encounter the error. If yes, try the next solution on the list.
2. Run CHKDSK Command
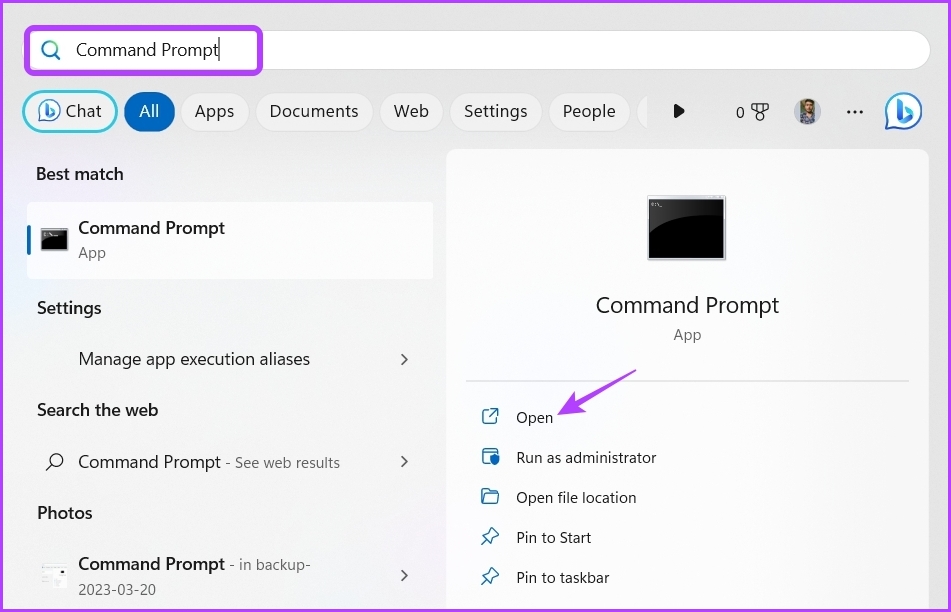
The issue can also occur due to bad sectors in the hard drive where the folder is located. Luckily, you can quickly detect and fix bad sectors on that drive by running the CHKDSK command. Here’s how to run this command: Step 1: Press the Windows key to open the Start Menu. Step 2: Type Command Prompt in the search bar and choose Run as administrator from the right pane. Step 3: In the elevated Command Prompt window, type the following command and press Enter. Replace DriveName with the drive where the folder is located. After the scan is complete, restart your computer and check for the issue. If it persists, continue with guide.
3. Run SFC and DISM Scan
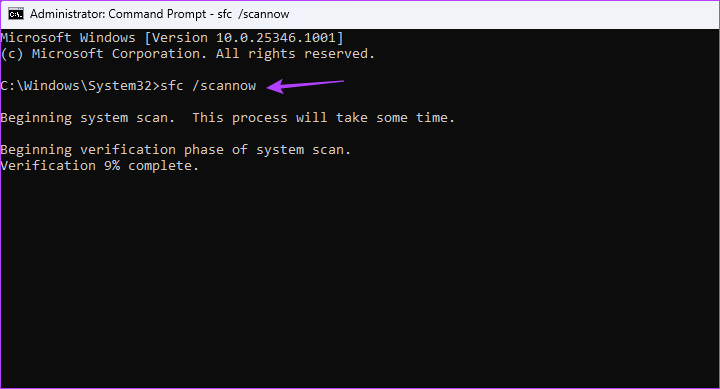
If running the CHKDSK scan wasn’t helpful, try running the SFC (System File Checker) and DISM (Deployment Image Servicing and Management) scan. These scans will detect and repair corrupt system files that might be causing the issue. To run an SFC and DISM Scan, follow these steps: Step 1: Open the Start Menu, type Command Prompt, and choose Run as administrator from the right pane. Step 2: Type sfc /scannow and press Enter. Step 3: To run the DISM scan, type the following commands one by one and press Enter after each command: The scanning process might take some time. Once the scan is complete, restart your computer and check if the problem persists.
4. Change the Folder Permissions
You’ll likely encounter the error 0x80070091 if you don’t have permission to delete the folder. To grant permission to delete the folder, follow the below instructions: Step 1: Press the Windows + E keyboard shortcut to open the File Explorer. Step 2: Head towards the location where the folder is stored. Step 3: Right-click on the folder and choose Properties. Step 4: Switch to the Security tab and click the Advanced button. Step 5: Click on Change next to the Owner option. Step 6: Type your Windows username in the ‘Enter the object name to select’ box and click the Check Names button. Step 7: Check the ‘Replace owner on subcontainers and objects’ box. Then, click Apply and OK. Try to delete the folder. If you still get the error, jump to the next solution.
5. Delete the Folder Using the Command Prompt
Command Prompt is a popular command-line tool for Windows. You can use it not only to perform advanced tasks but also for basic operations like deleting a folder. Here’s how to do that: Step 1: Press the Windows + E keyboard shortcut to open the File Explorer. Go to the folder location and click the address bar at the top. Step 2: Press Ctrl + A keyboard shortcut to select the address and then Ctrl + C keyboard shortcut to copy it. Step 3: Open the Start Menu, type Command Prompt, and choose Run as administrator from the right pane. Step 4: Type the following command and press Enter. Replace Folder Address with the copied address. Step 5: Click Y to confirm your selection.
Delete Folders Without Any Issue
Deleting folders is one of the simplest Windows tasks. But what if you encounter the ‘The directory is not empty’ error 0x80070091 on deleting folders? Fortunately, it’s a common Windows issue and can easily be resolved using the above solutions. The above article may contain affiliate links which help support Guiding Tech. However, it does not affect our editorial integrity. The content remains unbiased and authentic.