The reasons behind this error include glitched services, meddlesome User Account Control settings, and missing ownership of the uninstaller file. We will discuss six methods to resolve this issue on your Windows PC.
1. Attempt Uninstallation With Admin Rights
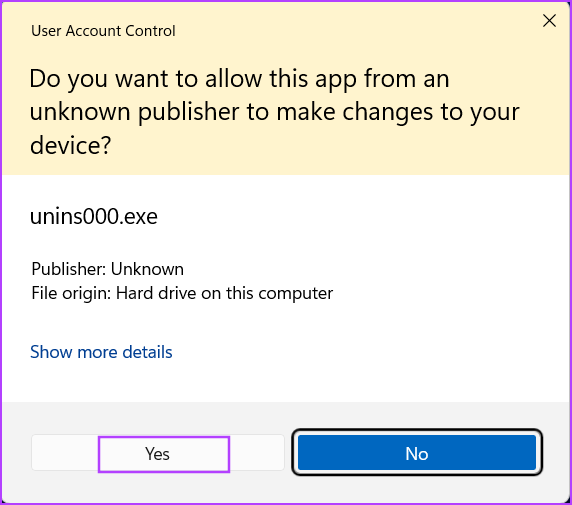
Before trying more advanced fixes, you must reattempt the uninstallation with administrator privileges. To do this, you need to locate the uninstaller file of the application that encounters an error. Here’s how to do it: Step 1: Press the Windows + E keyboard shortcut to open the File Explorer. Navigate to the folder where the program, which you want to remove is present. Usually, all installed apps are located in the Program Files or Program Files (x86) folder, but they can be in another location or on another drive as well. Step 2: Right-click on the uninstaller executable file and select the Run as administrator option. Step 3: When the User Account Control window opens, click on the Yes button. Step 4: Follow the on-screen instructions and check if the program uninstalls completely.
2. Enable the Built-in Admin Account
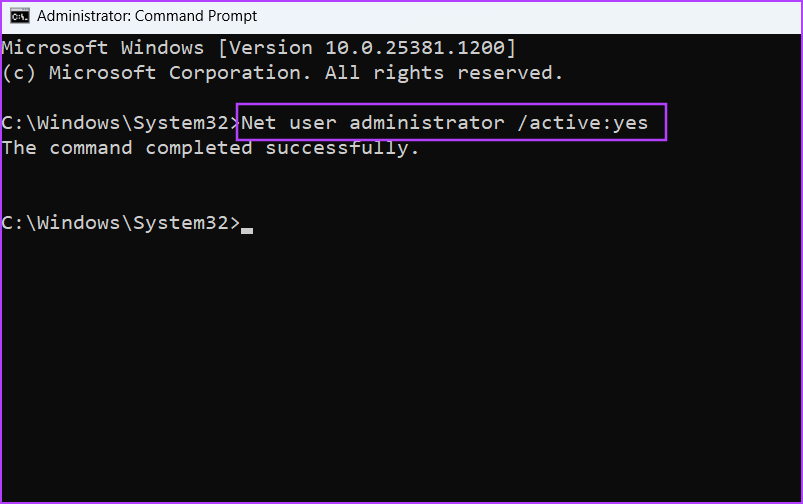
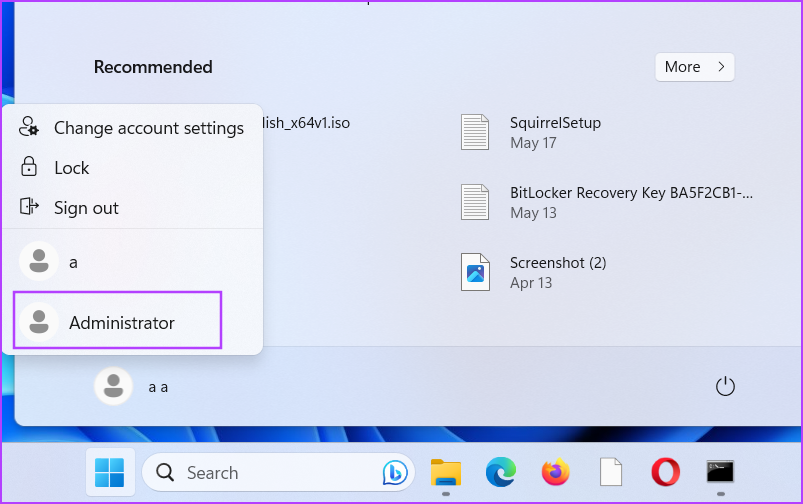
If granting administrator privileges to the uninstaller file doesn’t help, enable the built-in administrator account and try removing the program. Here’s how: Step 1: Press the Windows key to open the Start menu, type cmd in the search bar, and press the Ctrl + Shift + Enter keyboard shortcut. Step 2: When the User Account Control window opens, click on the Yes button. Step 3: Type the following command and press the Enter key: Step 4: Close the Command Prompt window. Step 5: Press the Windows key and click on the User Profile icon. Select the newly activated Administrator user profile. Step 6: Create a new password and sign in to the Administrator account. Try to uninstall the troublesome program.
3. Configure Windows Installer Service
Windows Installer service manages installing and removing of application packages from your PC. If this service glitches or is not running, you cannot uninstall a system program or a third party in Windows. Repeat the following steps: Step 1: Press the Windows key to open the Start menu, type services in the search bar, and press Enter. Step 2: Locate the Windows Installer service and right-click on it. Select the Restart option. Step 3: Close the Services utility and run the uninstaller once again.
4. Temporarily Disable User Account Control
User Account Control dims the desktop and notifies you about a program making changes to your system. But if it becomes too overprotective, you can temporarily disable it and finish the uninstallation. Here’s how: Step 1: Press the Windows key to launch the Start menu, type UAC in the search bar, and press the Enter key. Step 2: Drag the slider to the bottom position and click on the OK button. Step 3: Run the uninstaller executable file and remove the program from your PC. Make sure to revisit the UAC settings page and re-enable it afterward.
5. Uninstall App Using Command Prompt
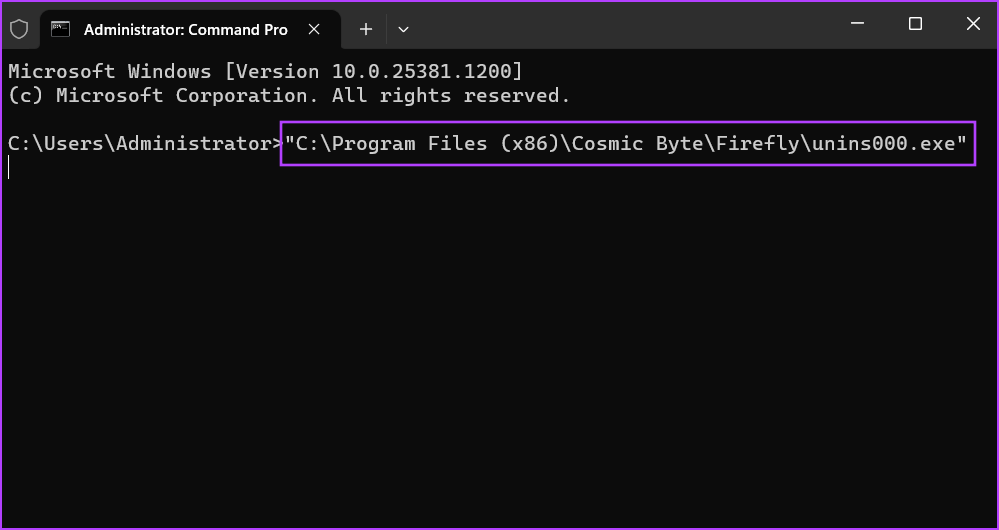
You can use the Command Prompt to remove any installed program on your PC. But you must know the exact path of the uninstaller file. For this, you can either use the File Explorer and manually navigate to the installation folder of the program or you can view the UninstallString of the app in Windows Registry. Here’s how to do it with File Explorer: Step 1: Press the Windows + E keyboard shortcut to open the File Explorer. Now, click on the C Drive and then click on the Program Files Folder. Step 2: Locate and select the uninstaller executable file and right-click on it. Select the Copy as path option. Step 3: Press the Windows key, type cmd, and press Enter. Step 4: Paste the copied path of the uninstaller file in the Command Prompt window and press Enter: Step 5: The Program Uninstaller window will launch. Follow the on-screen instructions to remove it from your Windows PC.
6. Take Full Ownership of the Uninstaller File
If you still see the ‘You must be an administrator to remove this application’ error message, then you’ll need to take Full Ownership of the installation folder and all the files inside it. Here’s how to do it: Step 1: Press the Windows + E keyboard shortcut to open the File Explorer. Click on the C Drive icon and then click on the Program Files or Program Files (x86) folder. Step 2: Find the installation folder of the program which you are unable to uninstall. Select the folder and right-click on it. Select the Properties option from the context menu. Step 3: Switch to the Security tab. Now, scroll down and find your user name and click on it. Then, click on the Edit button. Step 4: A new window will open. Select your user name again. Then, click on the Full control checkbox to select it. Step 5: Click on the Apply button and then click on the OK button. Close the Properties window. Step 6: Lastly, run the uninstaller application and remove the program from your computer.
Uninstall Programs Easily
Many users face the ‘You Do Not Have Sufficient Access to Uninstall’ error in Windows while removing third-party apps, a torrent client, etc. Try uninstalling the program with admin rights and restarting the Windows Installer service. After that, attempt uninstallation using Command Prompt, lower the UAC protection, and take full ownership of the installation folder. The above article may contain affiliate links which help support Guiding Tech. However, it does not affect our editorial integrity. The content remains unbiased and authentic.