You can always move from Mail to one of the third-party email apps on Mac. But Mail works seamlessly among all Apple devices and it’s expected to get a major feature boost with the macOS Ventura update. Instead of settling with a below-average Mail alternative, use the tricks below to start receiving real-time emails on Mac.
1. Add Your Email Account Again
You may not receive new emails in the Mail app if there is an authentication error with your email address. Whether you may have changed your password or it’s just your internet connection acting up. You’ll need to remove your existing account and add it to the Mail app on your Mac. Here’s how. Step 1: Select the little Apple icon in the top left corner.
Step 2: Open System Preferences.
Step 3: Select Internet Accounts.
Step 4: Click on an email account from which you are not receiving emails. Step 5: Select the ‘-‘ icon at the bottom.
Step 6: Select + icon and your email provider.
Step 7: Sign in with your account details and open the Mail app. The Mail app will fetch and send emails normally. However, it’d help if you monitor that for a day or two.
2. Check Mail Rules
Some marketing companies might spam your inbox with too many emails. So it’s natural to create email rules to avoid any promotional emails. Unfortunately, you might also miss relevant emails in the process. To fix that, you’ll need to revisit the Rules section and remove unnecessary ones. Step 1: Open the Mail app on Mac. Select Mail option in the top-left corner and choose Preferences.
Step 3: Click on the Rules tab. Select a rule and click Edit or Remove button to make changes.
3. Check Junk Box
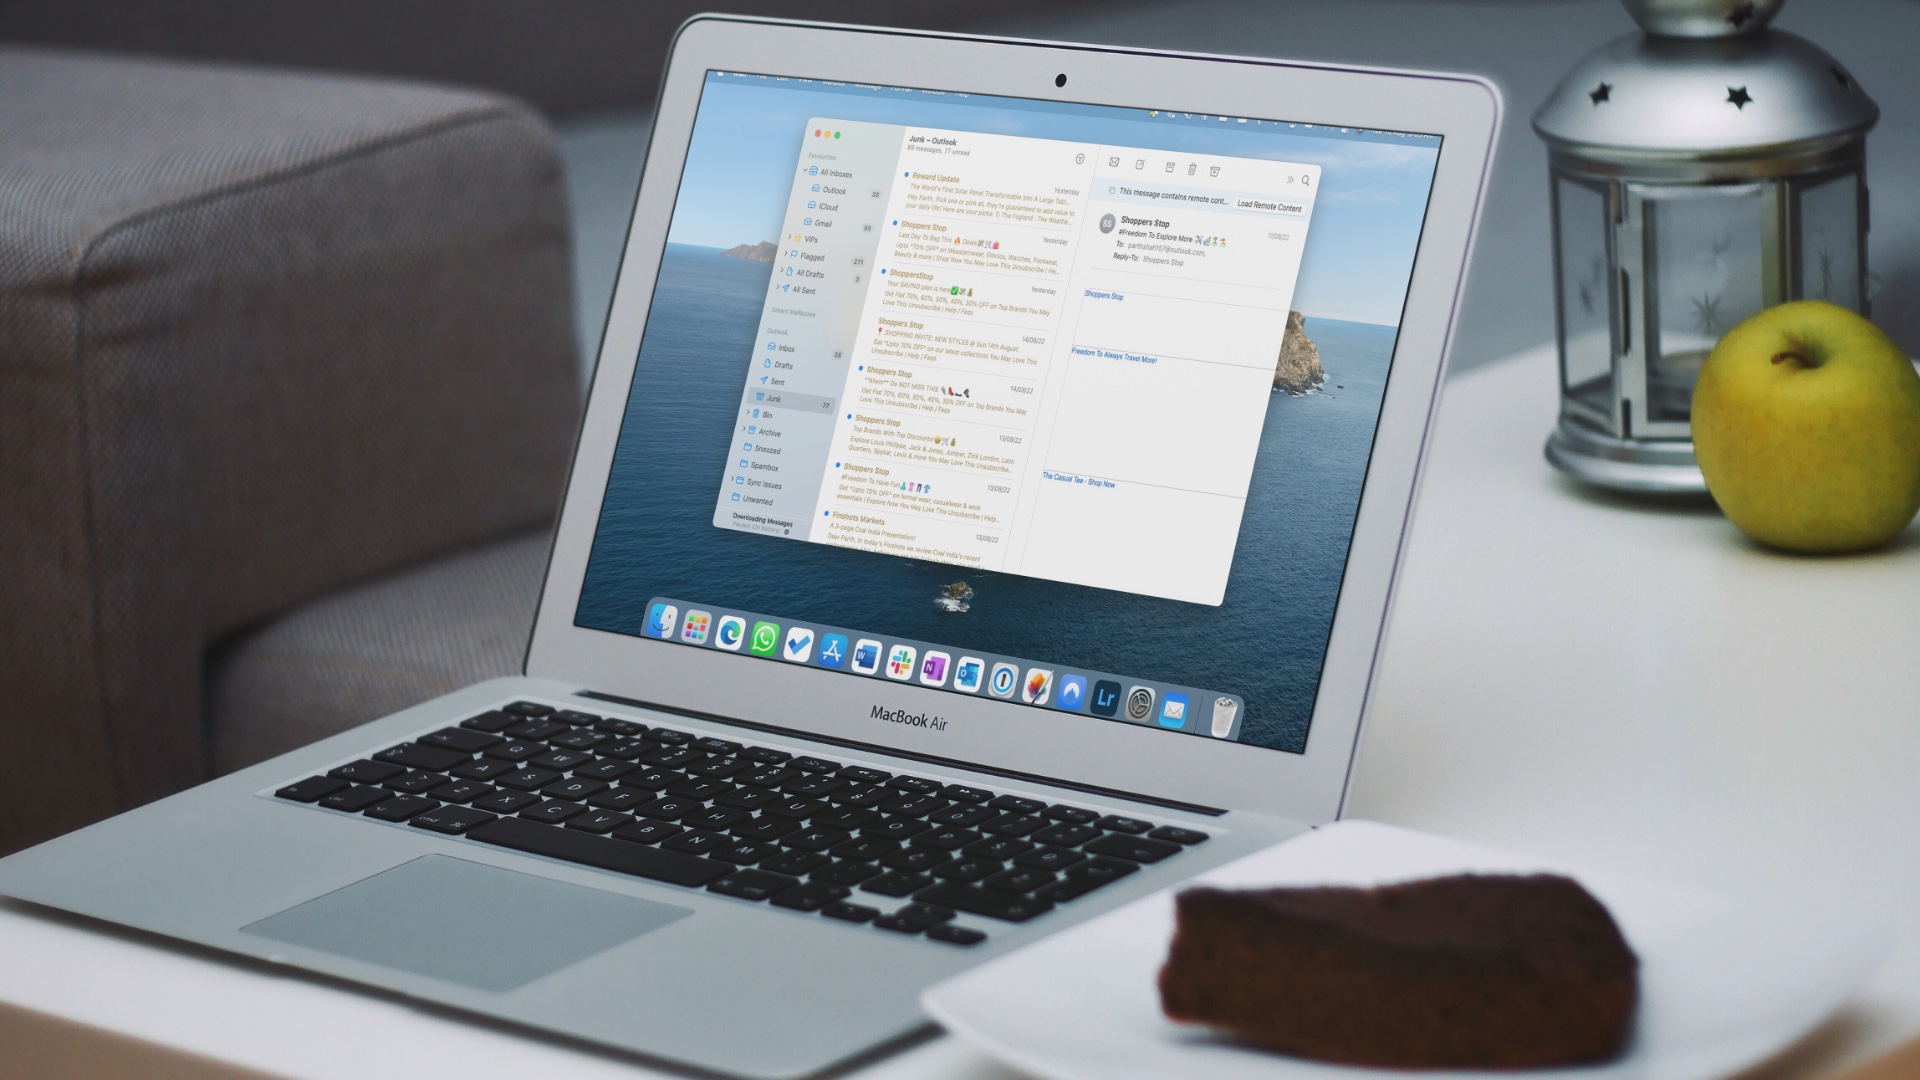
Sometimes, Gmail, iCloud, or Outlook algorithms can be aggressive and send emails to the Junk box directly. You should regularly check the Junk box in the Mail app. Step 1: Launch the Mail app on Mac. Step 2: Expand your preferred email provider from the left sidebar. Step 3: Select Junk and check all your missed emails.
4. Check Server Status
If Gmail or Outlook servers have a rough day, you will face issues receiving emails on Mac. You can visit Downdetector and search for Gmail/Outlook in the search bar at the top. When others face the same, you will notice high outage graphs on Downdetector and comments confirming the same. You’ll need to wait for Google or Microsoft to fix email issues from their end. After Gmail or Outlook services resume, you’ll receive notifications for emails usually.
5. Check Your Google or Microsoft Account Storage
Microsoft offers 15 GB of email storage for free with all Outlook accounts. Personal Google accounts also get 15 GB of Gmail storage shared between Google Drive and Google Photos. If you run out of storage on these services, you need to consider upgrading to one of the Google One or Microsoft 365 paid plans. You can visit Google Drive on the web and check the remaining storage from the bottom left corner.
Outlook users need to follow the steps below. Step 1: Open Outlook in a web browser and log in with your Microsoft account details Visit Microsoft Outlook Step 2: Select the settings gear in the top right corner and choose ‘View all Outlook settings’ option.
Step 3: Select Premium from the left sidebar. Check available Outlook storage for your account.
You can check inbox, archive box, sent items, spam box, and deleted items from the same menu. If you run out of Outlook storage, hit the Empty button beside the email inbox to delete messages.
6. Disable Focus
Focus is Apple’s version of DND (Do Not Disturb) on Mac. When working with Focus on Mac, the function suspends all app notifications and calls on Mac. You have two options – you can either disable Focus or add Mail as an exception. Step 1: Select Mac Control Center in the top-right corner. Step 2: Disable Focus tile from the menu.
You can also add Mail as an exception in Focus on Mac. Step 1: Open System Preferences on Mac (refer to the steps above). Step 2: Select Notifications & focus.
Step 3: Select the Focus tab. Select Apps and hit the + icon.
Step 4: Search for Mail and add it as an exception in Focus.
7. Update macOS
Apple doesn’t release Mail updates from the App Store. The company has tied all the system apps with the macOS build. You must update macOS to the latest version to enjoy all new Mail features and bug fixes. Step 1: Launch the System Preferences menu on Mac (refer to the steps above). Step 2: Open Software Update and install pending update.
Get Real-Time Mail Alerts
Mail not receiving emails on Mac may lead to mistakes and confusion. Before you miss any important email in the future, use the tricks above to fix the issue in no time. The above article may contain affiliate links which help support Guiding Tech. However, it does not affect our editorial integrity. The content remains unbiased and authentic.

![]()


