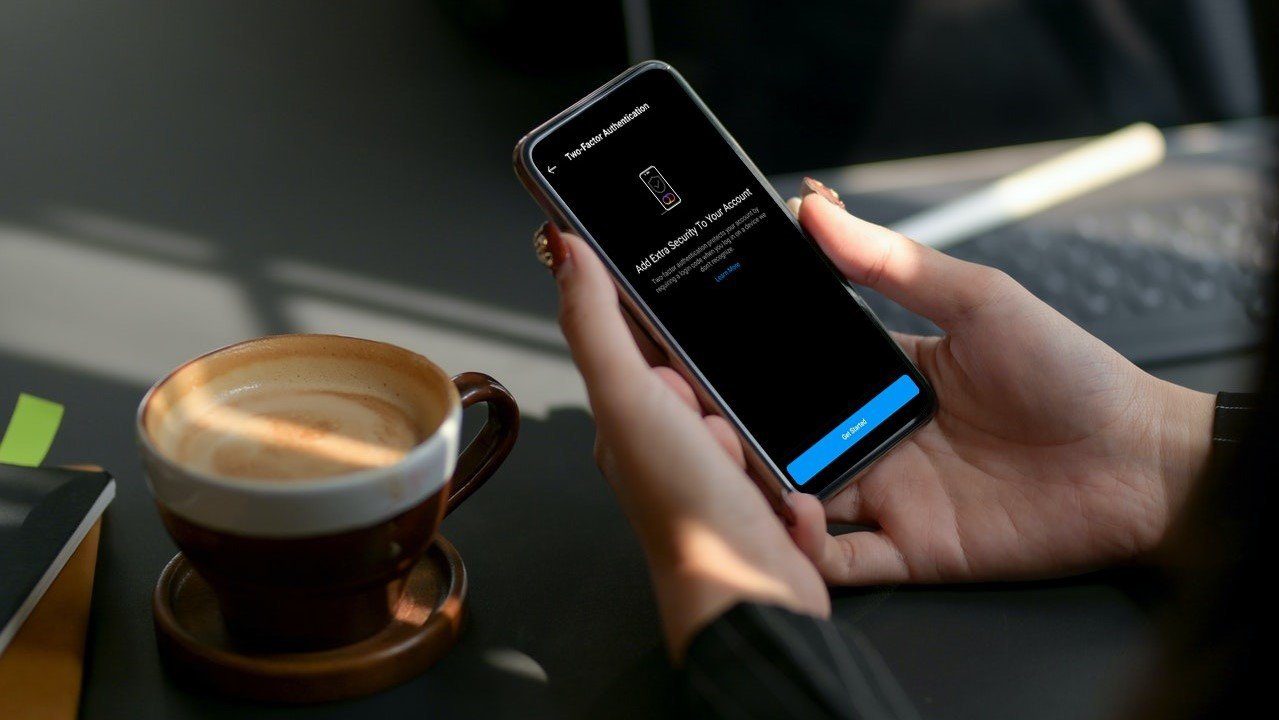
The announcement was made by Vijay Budhram, one of Mozilla’s engineers, on their official blog. The feature is optional and is being rolled out in phases. If you don’t see the option available in your Firefox browser, I have shared a simple trick that will let you enable it. Before I explain how to enable 2-Factor Authentication, you need to understand why you must enable it in the first place.
Why Enable 2FA in Firefox
Yahoo, Twitter, and several other tech giants have all faced security issues over the years. It seems that merely coming up with a strong password is no longer enough. You need a little something extra. This is where 2FA comes into the picture. 2FA adds a second step to your logging process where after you have entered your password, you have to enter a 6-digit number that is either sent to your registered mobile number, or generated randomly using a third party app like Google Authenticator or a USB device like a Yubikey. This greatly reduces the risk of your account getting compromised because no one else has access to your smartphone or that USB stick. Even One Time Password (OTP) is a form of 2FA. Note that time based tokens (TOTP) are more secure than OTP sent via messages. My Mastercard credit card was once hacked and used to shop for over $800 in less than 1 minute even though I had OTP enabled. This is why Mozilla has added support for the former and only works with Authy, Google Authenticator, and DuoMobile at the moment. I personally use and recommend Google Authenticator but you can use any one of them.
How to Enable 2FA in Firefox
For the purpose of this guide, I will be using Google Authenticator app. Launch Firefox and click on the menu icon on the top right corner of your screen. Click on options. On the left panel, you will find Firefox Account. Once inside, click on Manage Account. Here, you should see the Two-step authentication option. In my case it was not visible. The feature is still rolling out and is not available to everyone, as of yet. To counter this issue, simply add this to the end of the URL – &showTwoStepAuthentication=true You should now see the Two-step authentication option. Click on the Enable button. You will now see a QR code ready to be scanned. This is where I will launch Google Authenticator app on my mobile and scan the code. You should now see a six digit code on your app with a timer. Every time the timer runs out, a new code is generated randomly. Enter the code and click confirm. You will now see a set of backup codes that you should save somewhere safe. For maximum security, I recommend you to print it out and save it offline. Why backup codes? In the event you lose access to your mobile due to theft, broken screen or something else, how would you log in? You can’t access Google Authenticator app and without it, Firefox won’t allow you to log in. This is when you can use one of the backup codes to access your Firefox account. Think of it as an emergency key. Your Firefox account is now secured and no one but you can access it because no one but you have access to that authenticator app and those backup codes.
2FA to the Rescue
Passwords are easy to steal or guess but codes are randomly regenerated every 20 seconds. This makes it really difficult to hack your account and steal your data. Hackers are usually looking for easy targets anyway. So you should be safe. The above article may contain affiliate links which help support Guiding Tech. However, it does not affect our editorial integrity. The content remains unbiased and authentic.


